(PDF version of this article are available in English and Français)
I – The idea
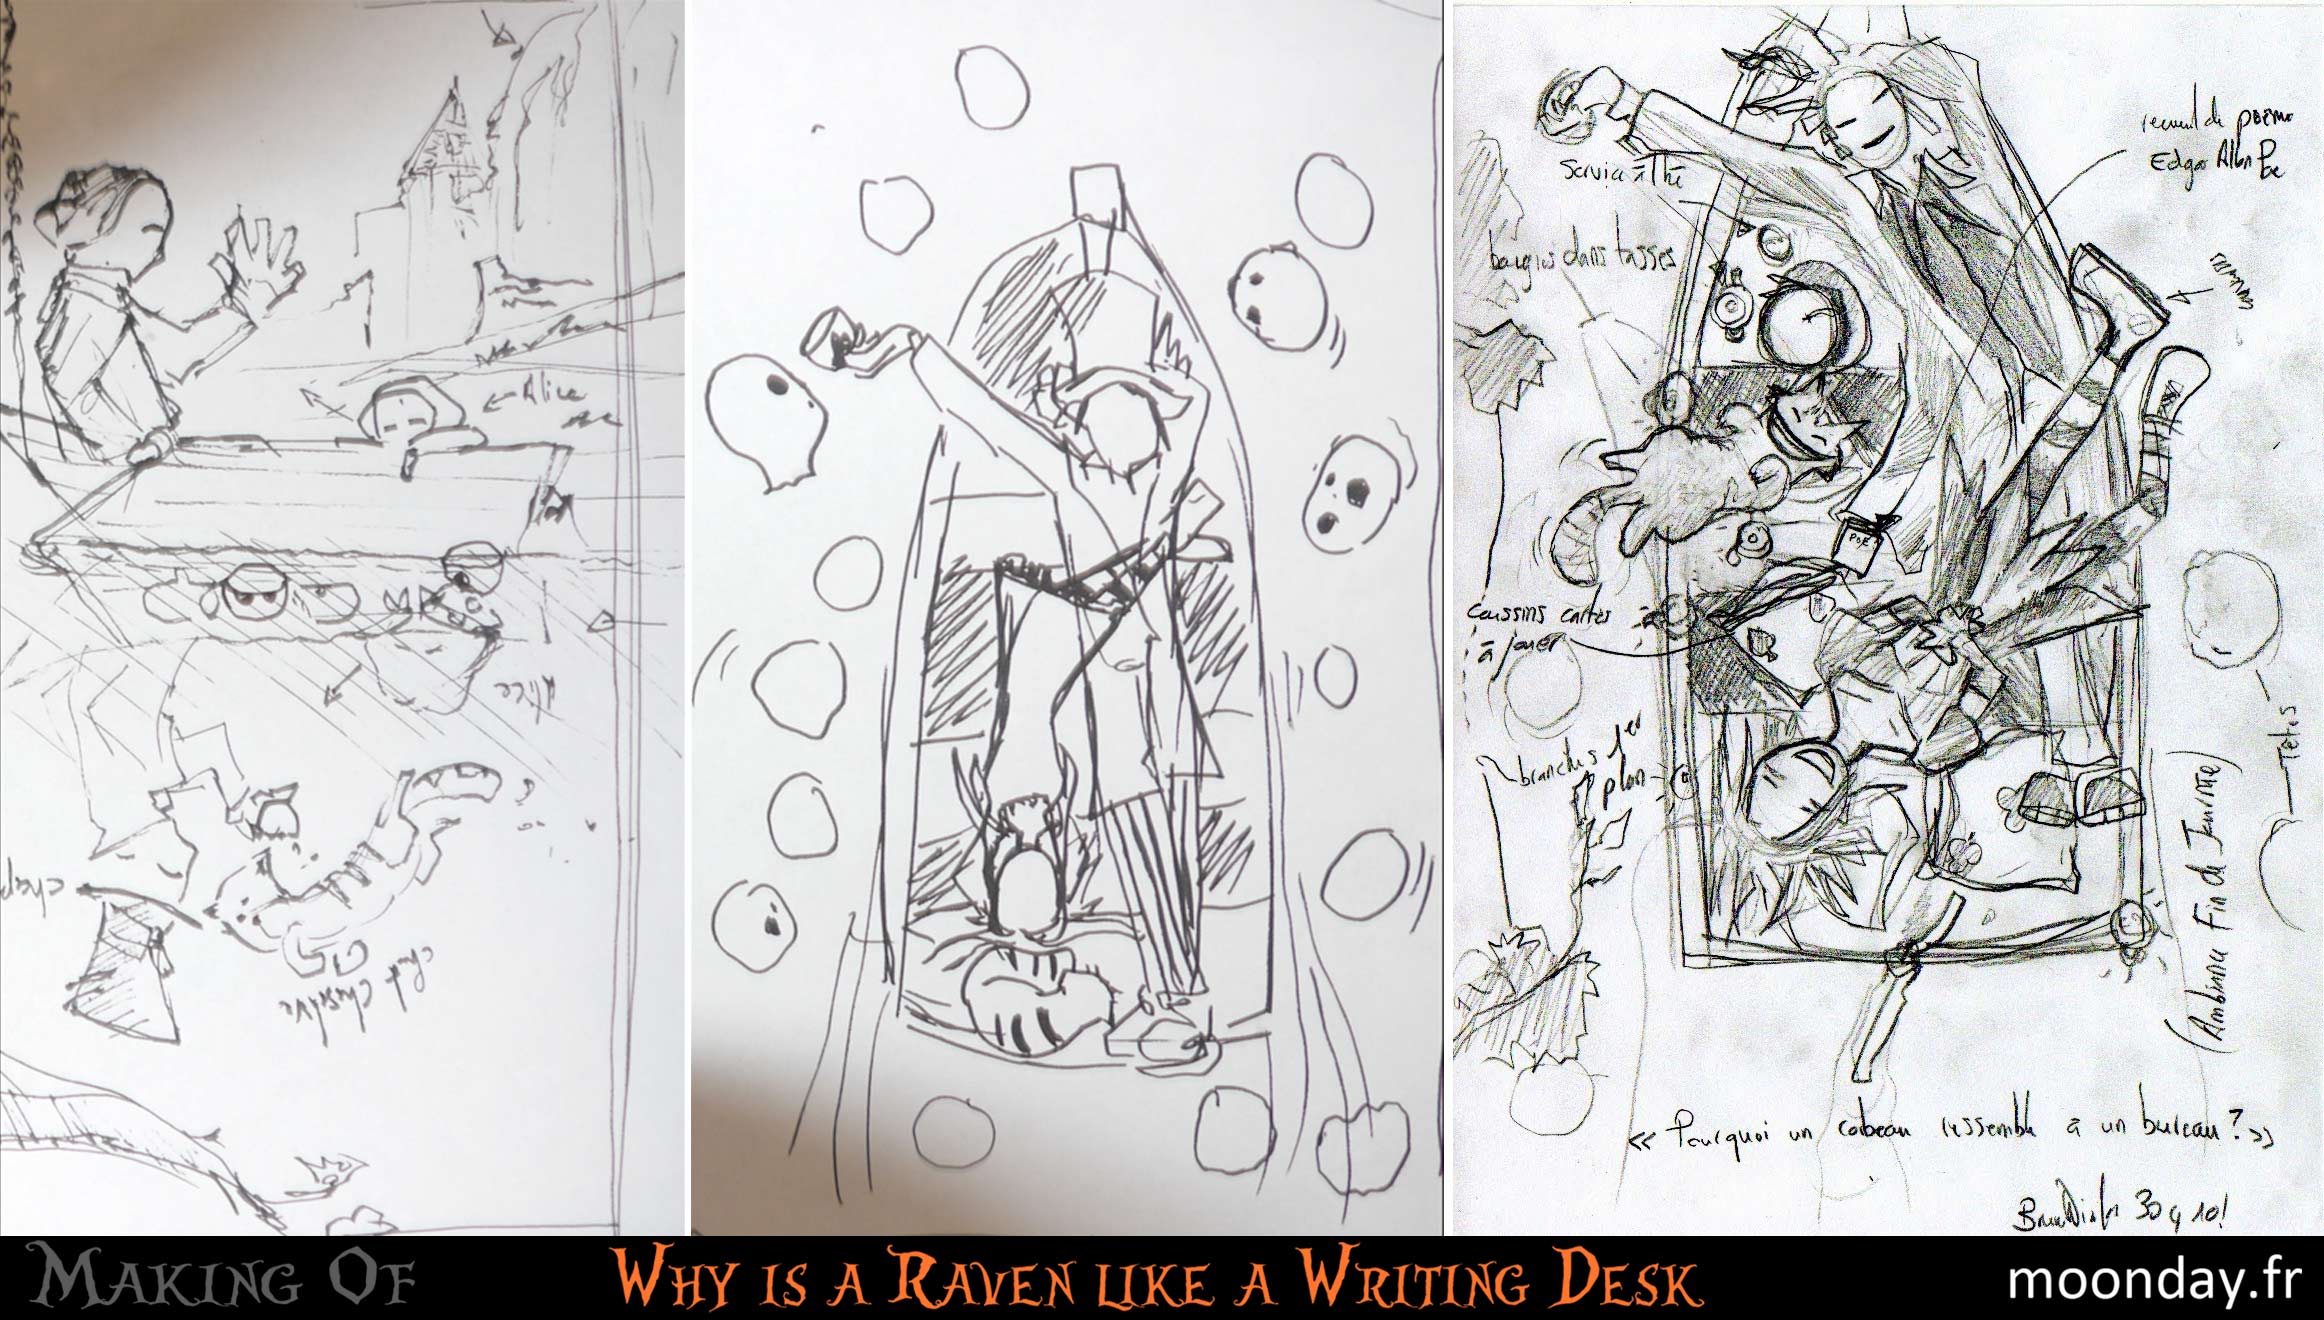
I immediately thought of using Alice and the Mad Hatter in a boat floating on the castle moat, the Tim Burton film scene where Alice jumps from one beheaded head to another one. This scene inspired me a lot. In the original scene Lewis Carroll and the real Alice are sailing in a boat, their reflections representing the Mad Hatter and Alice respectively.
Water also acts as a mirror in which the elements appears from the universe created by Lewis Carroll when he tells Alice his stories.
II Modelling
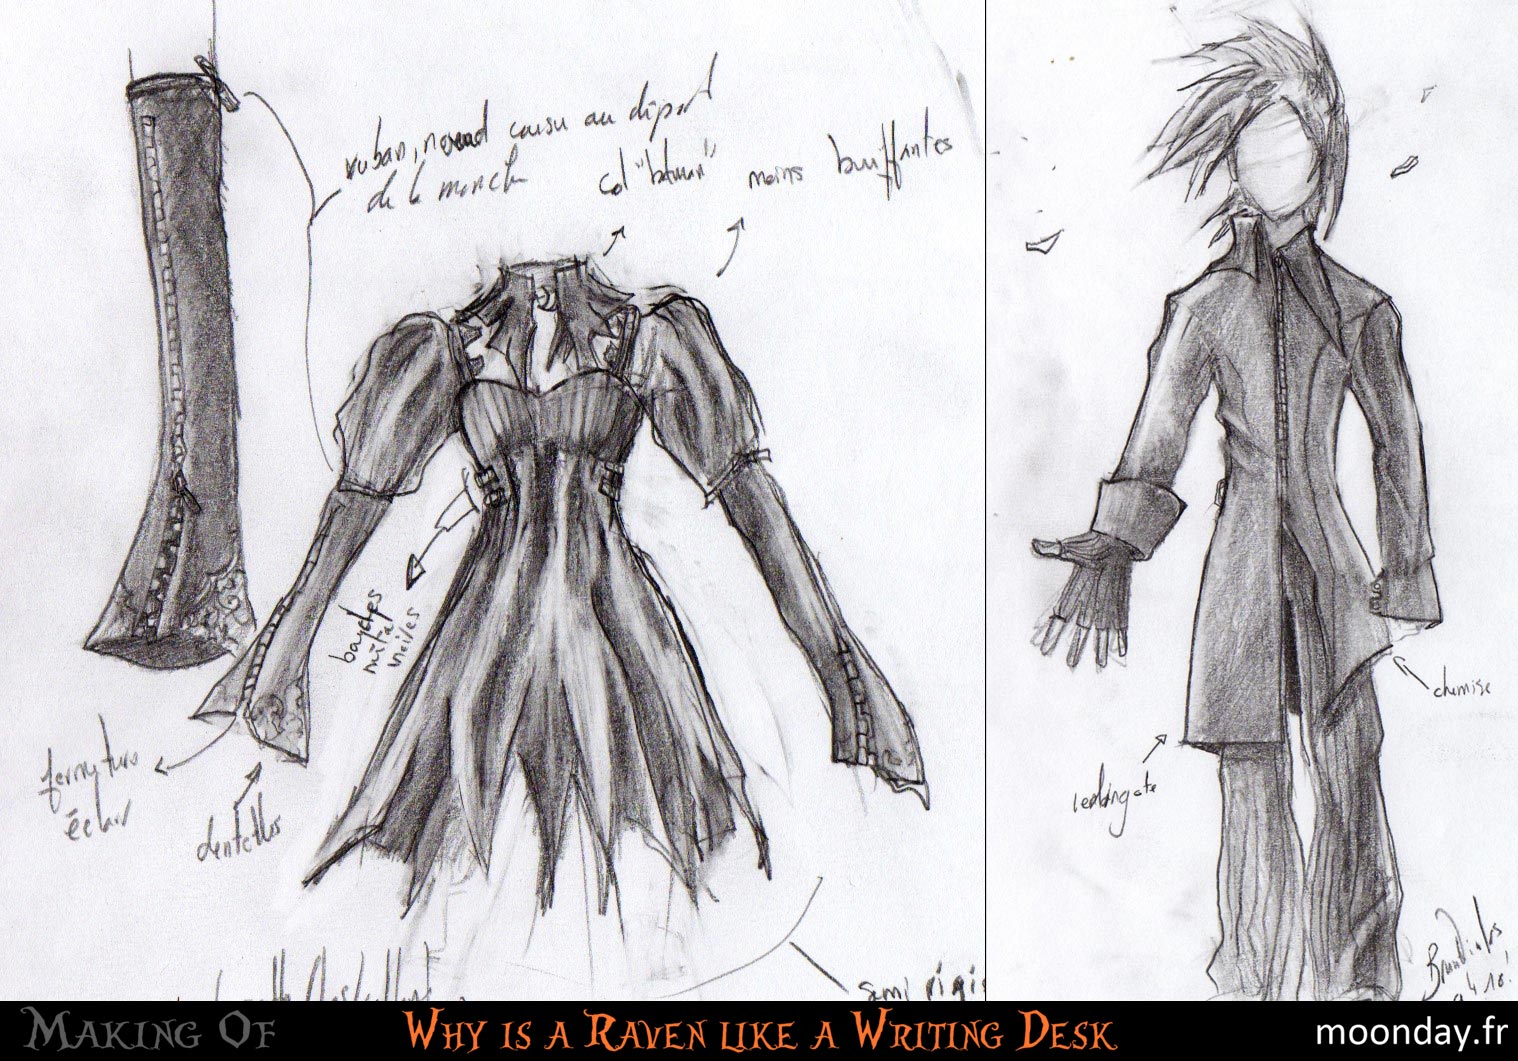
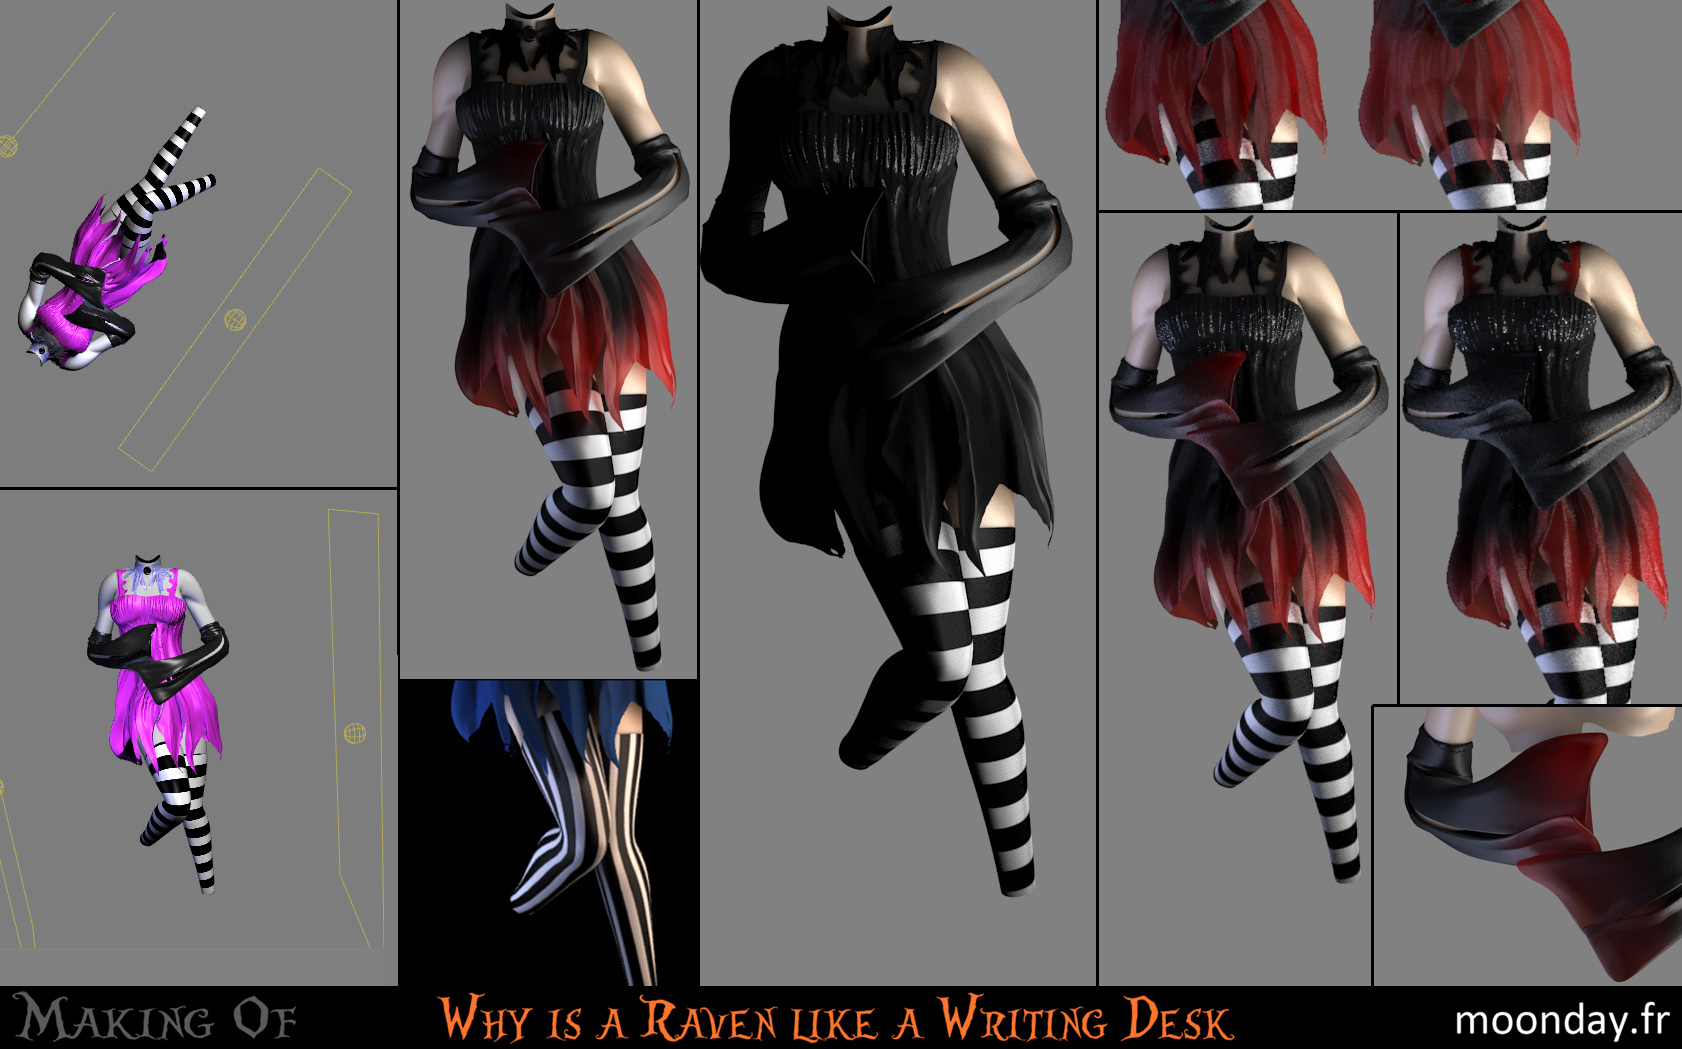
Once the scene was defined on paper I started to create characters starting with their bodies and clothing. The process was the same for almost all elements of the scene, an editable poly modified with visual reference and for some models a jump in sculpting software to add details.
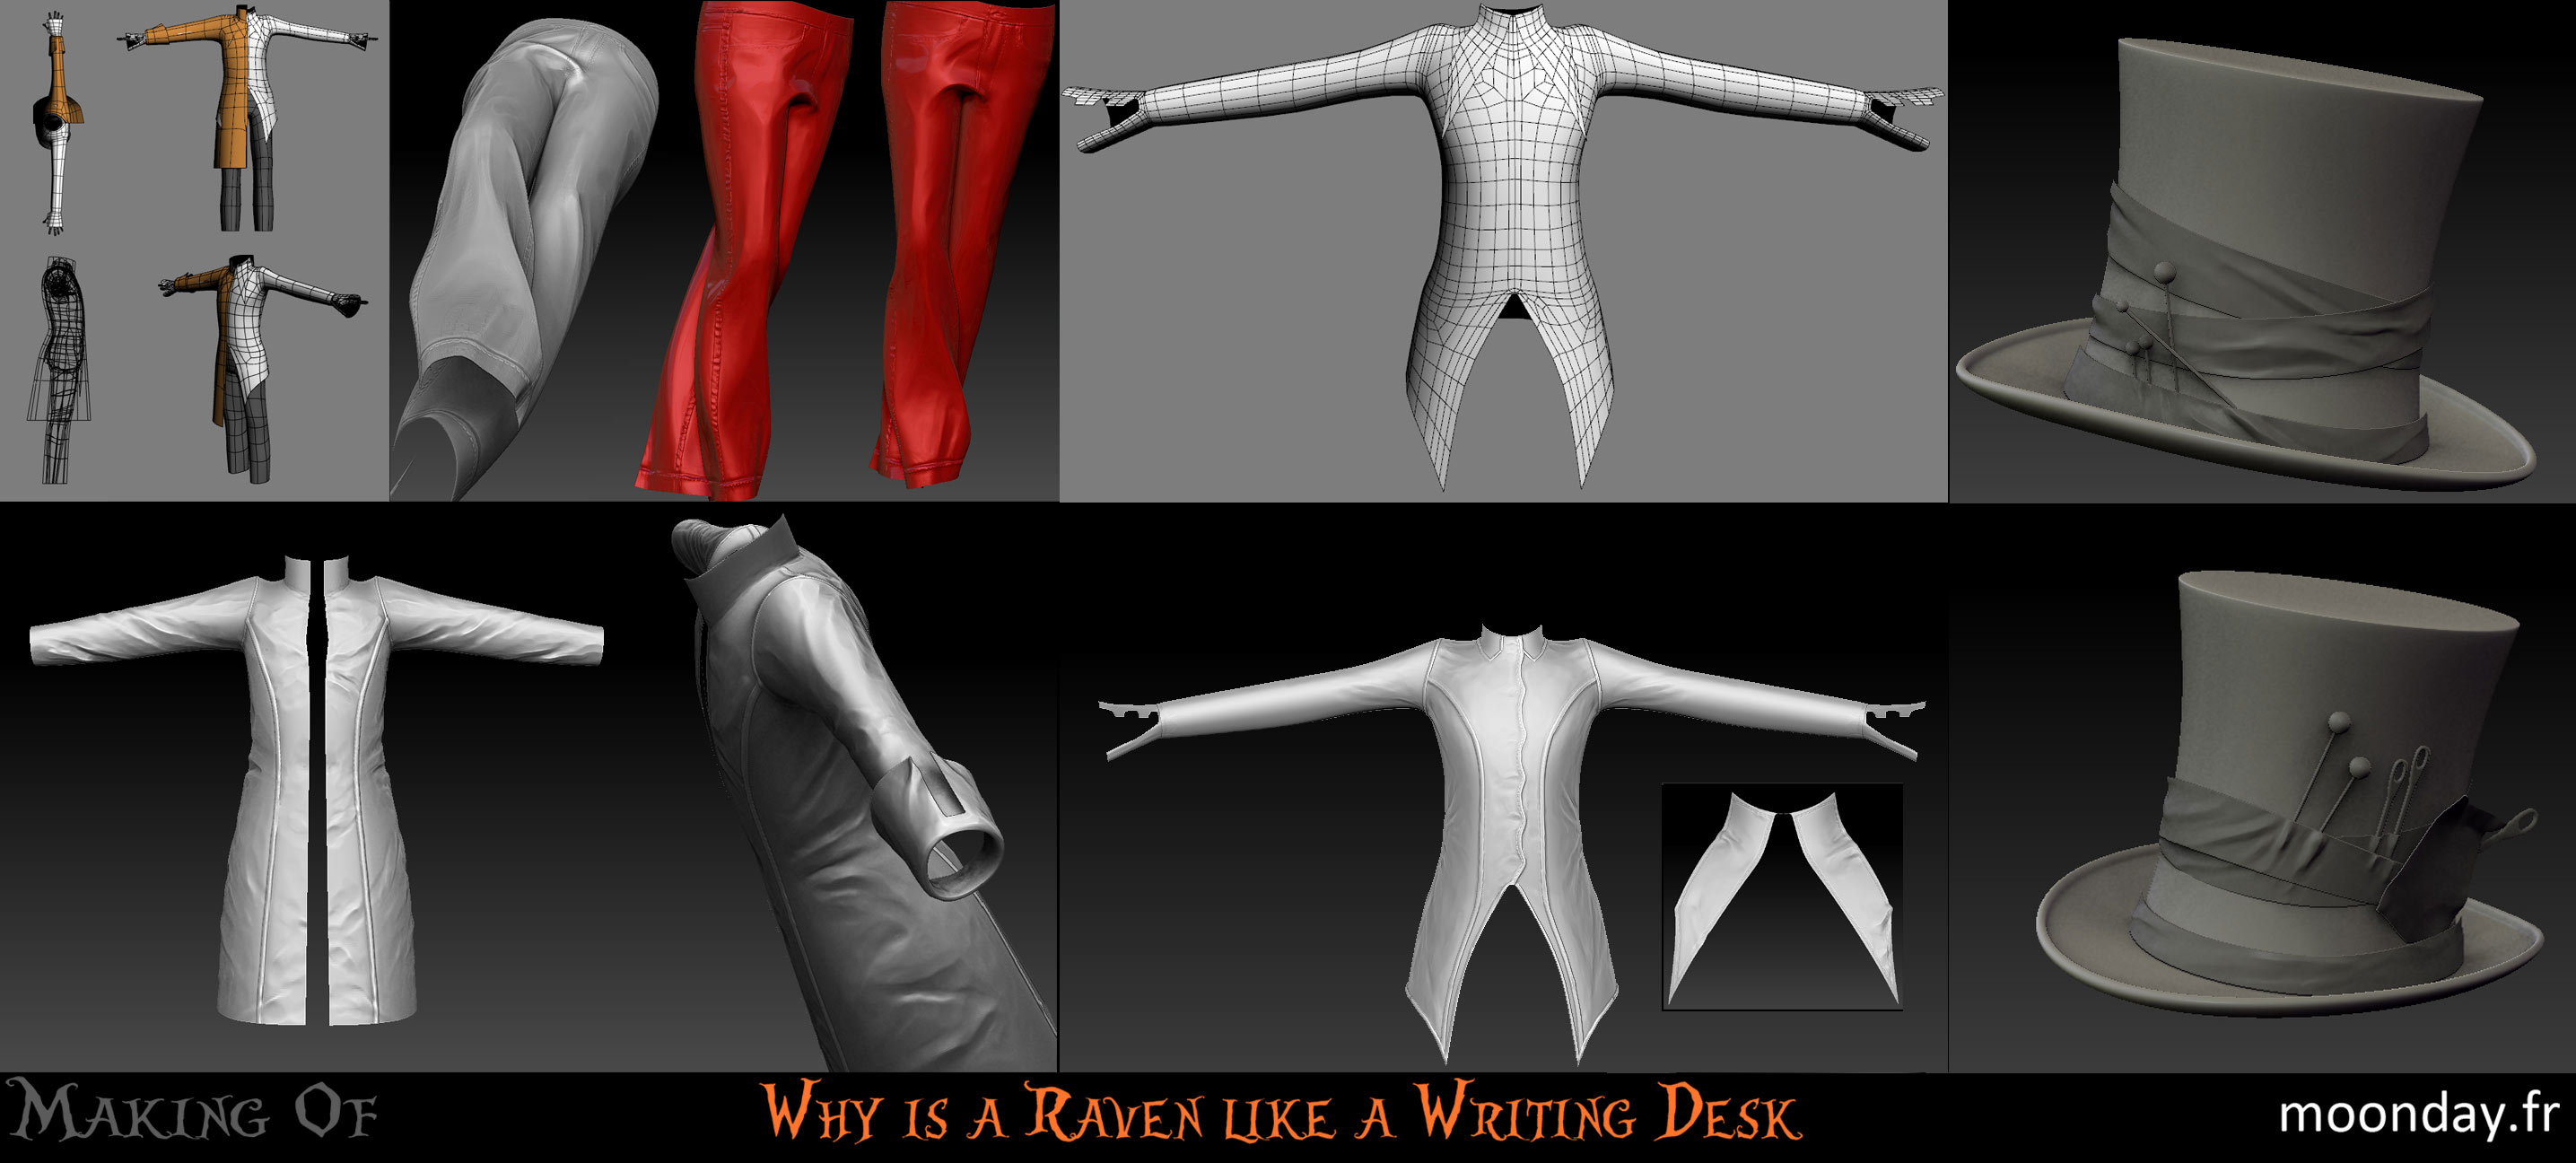
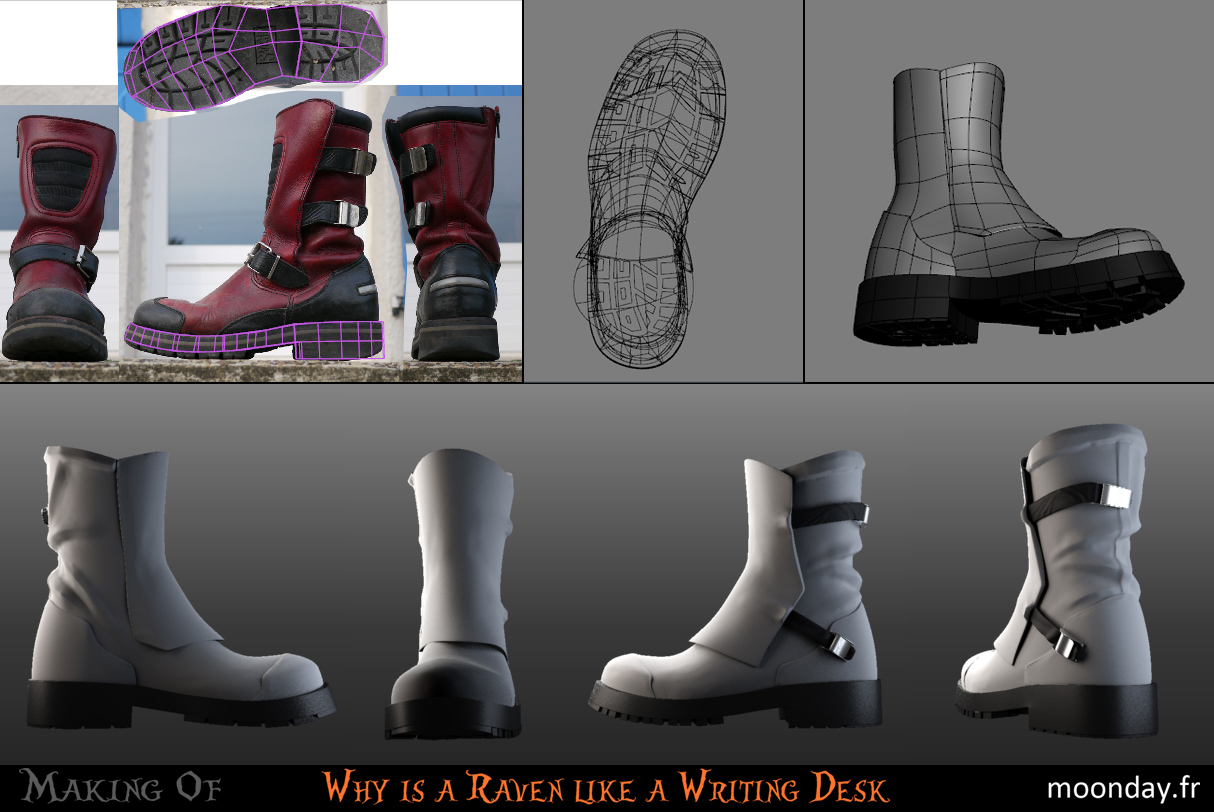

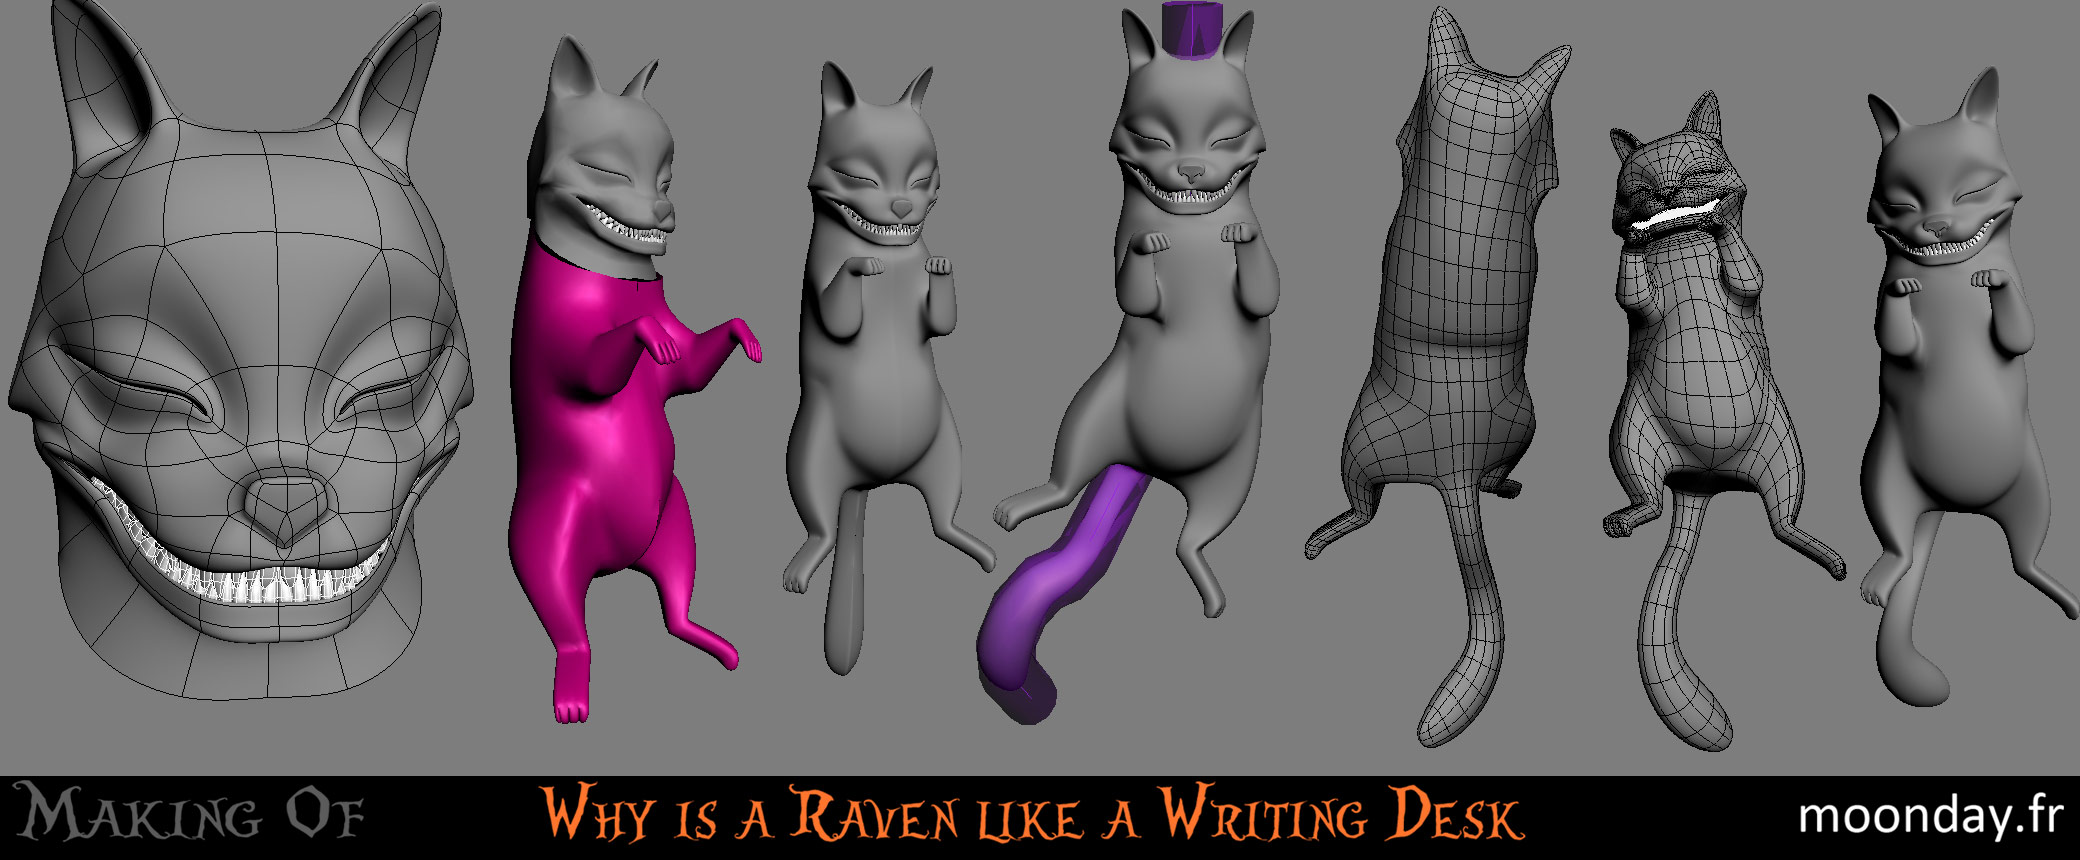
Cloth simulations were used to give good shapes to the clothes, they were then refined in sculpt mode. In order to put the characters in place, I created a quick rig and skinned the bodies, the easiest character to work on (at that stage) was the cat, his body was modelled in final position and skinned along a spline.
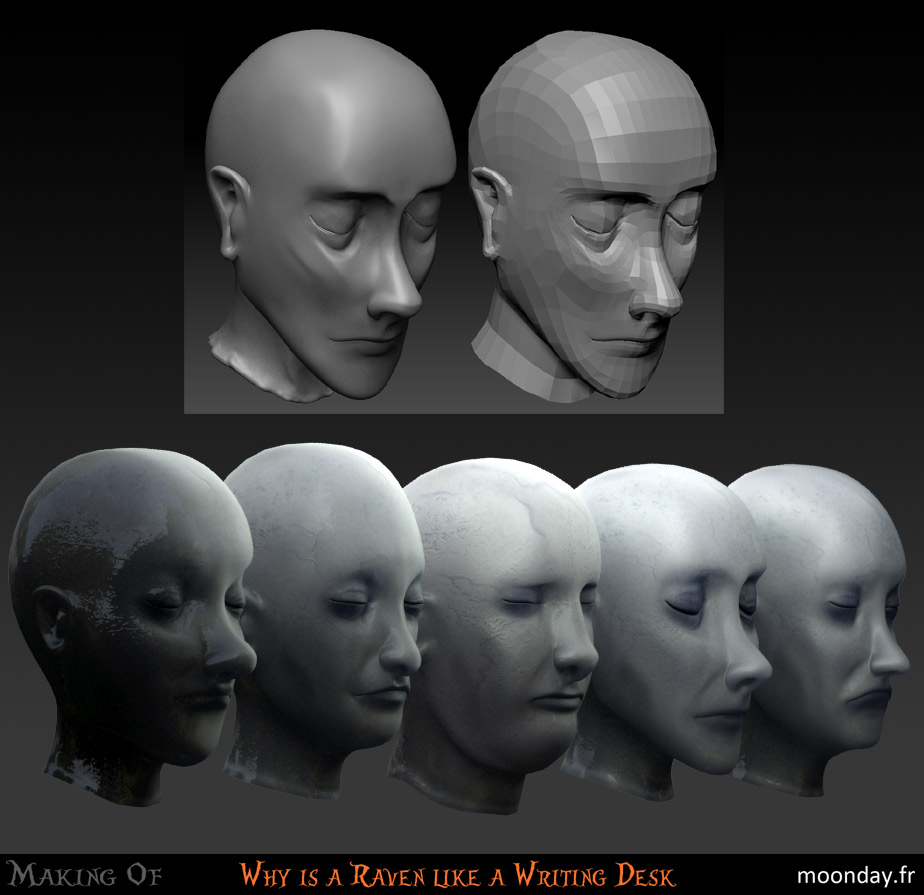
Then came the time to model the heads of the characters, so I started by Alice using a realistic style that I quickly abandoned because it didn’t suit the mood of the project.


After some sketching research I got the right look for the Mad Hatter and Alice. The first challenge of the project thus began : modelling cartoon-type heads, a first time for me, used to model objects of everyday life.
The decapitated heads are from the Mad Hatter model with a few variations.
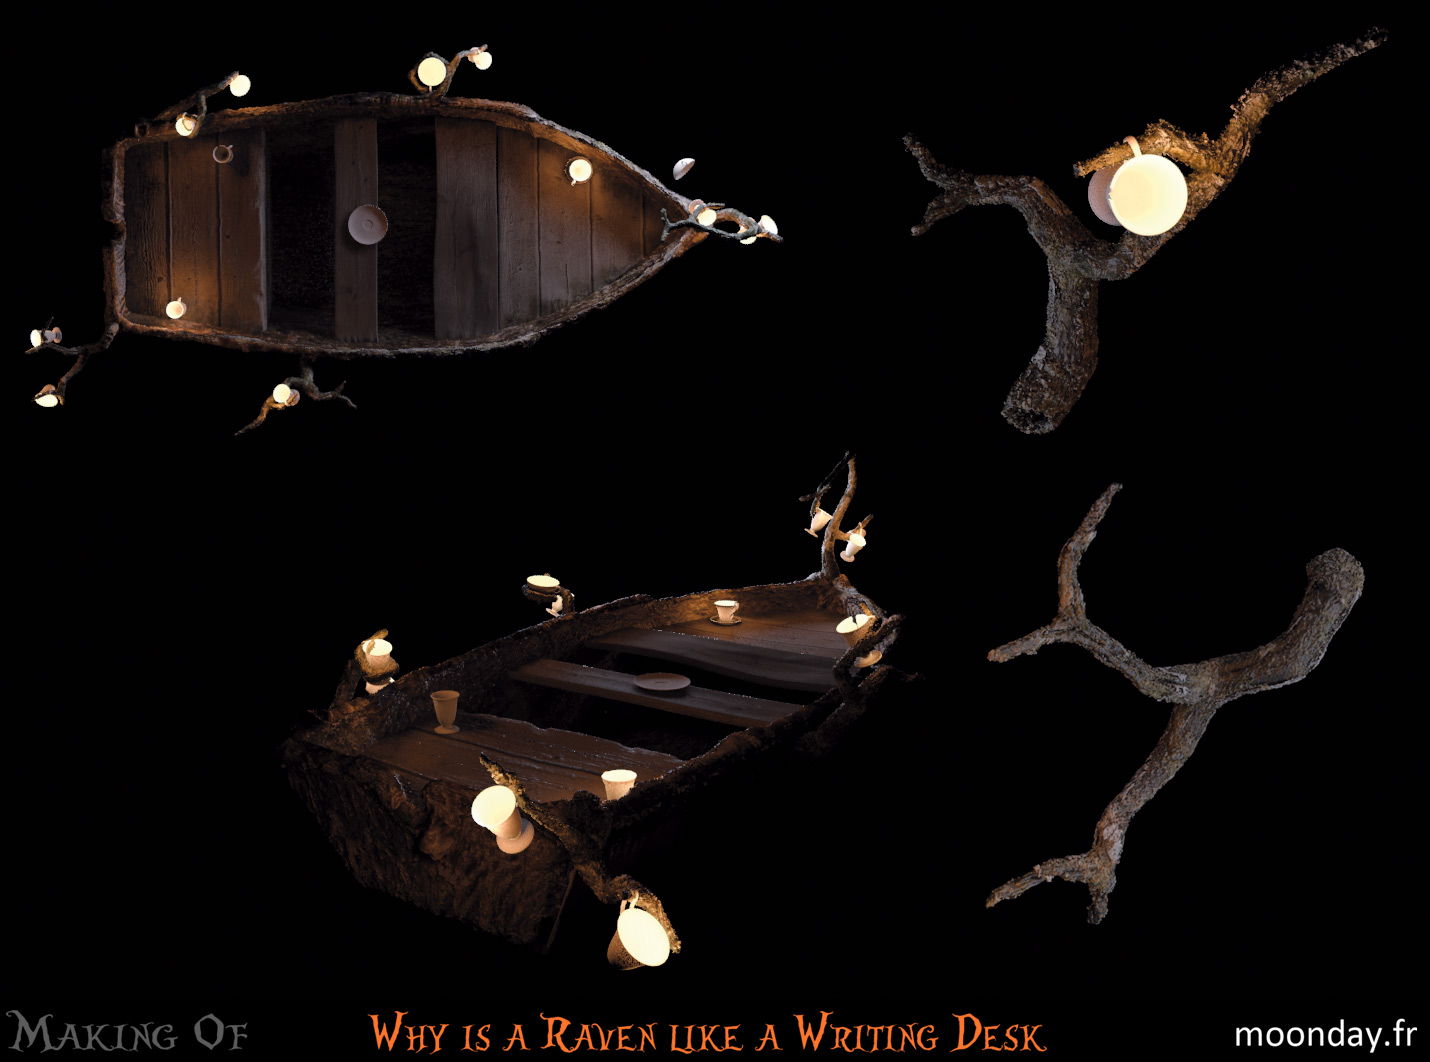
III – Setup and lighting
With the key elements created it was time to put it all together, I had to set the camera up and see if the paper version worked in 3D. The decapitated heads populated moat as particles.
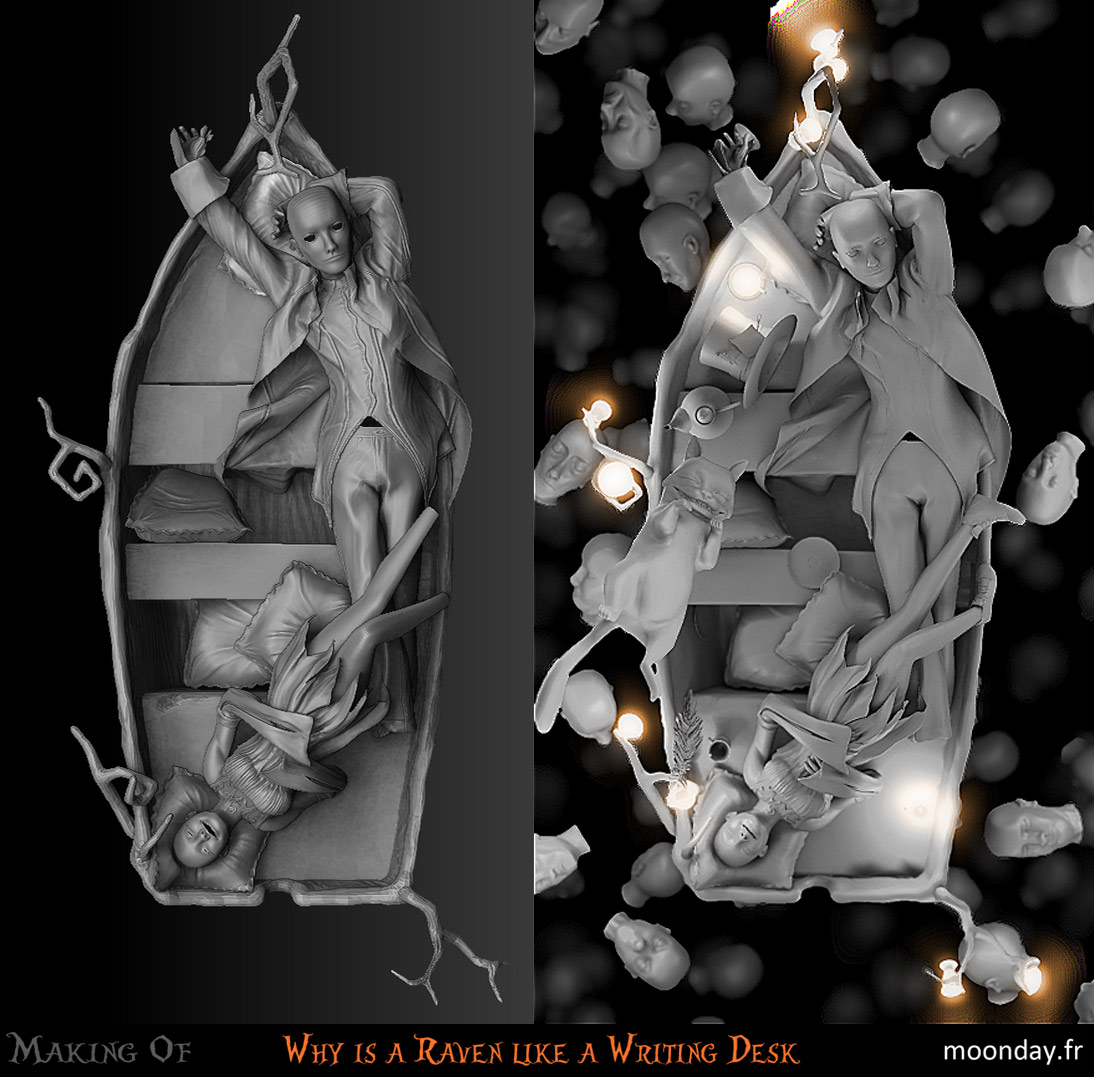
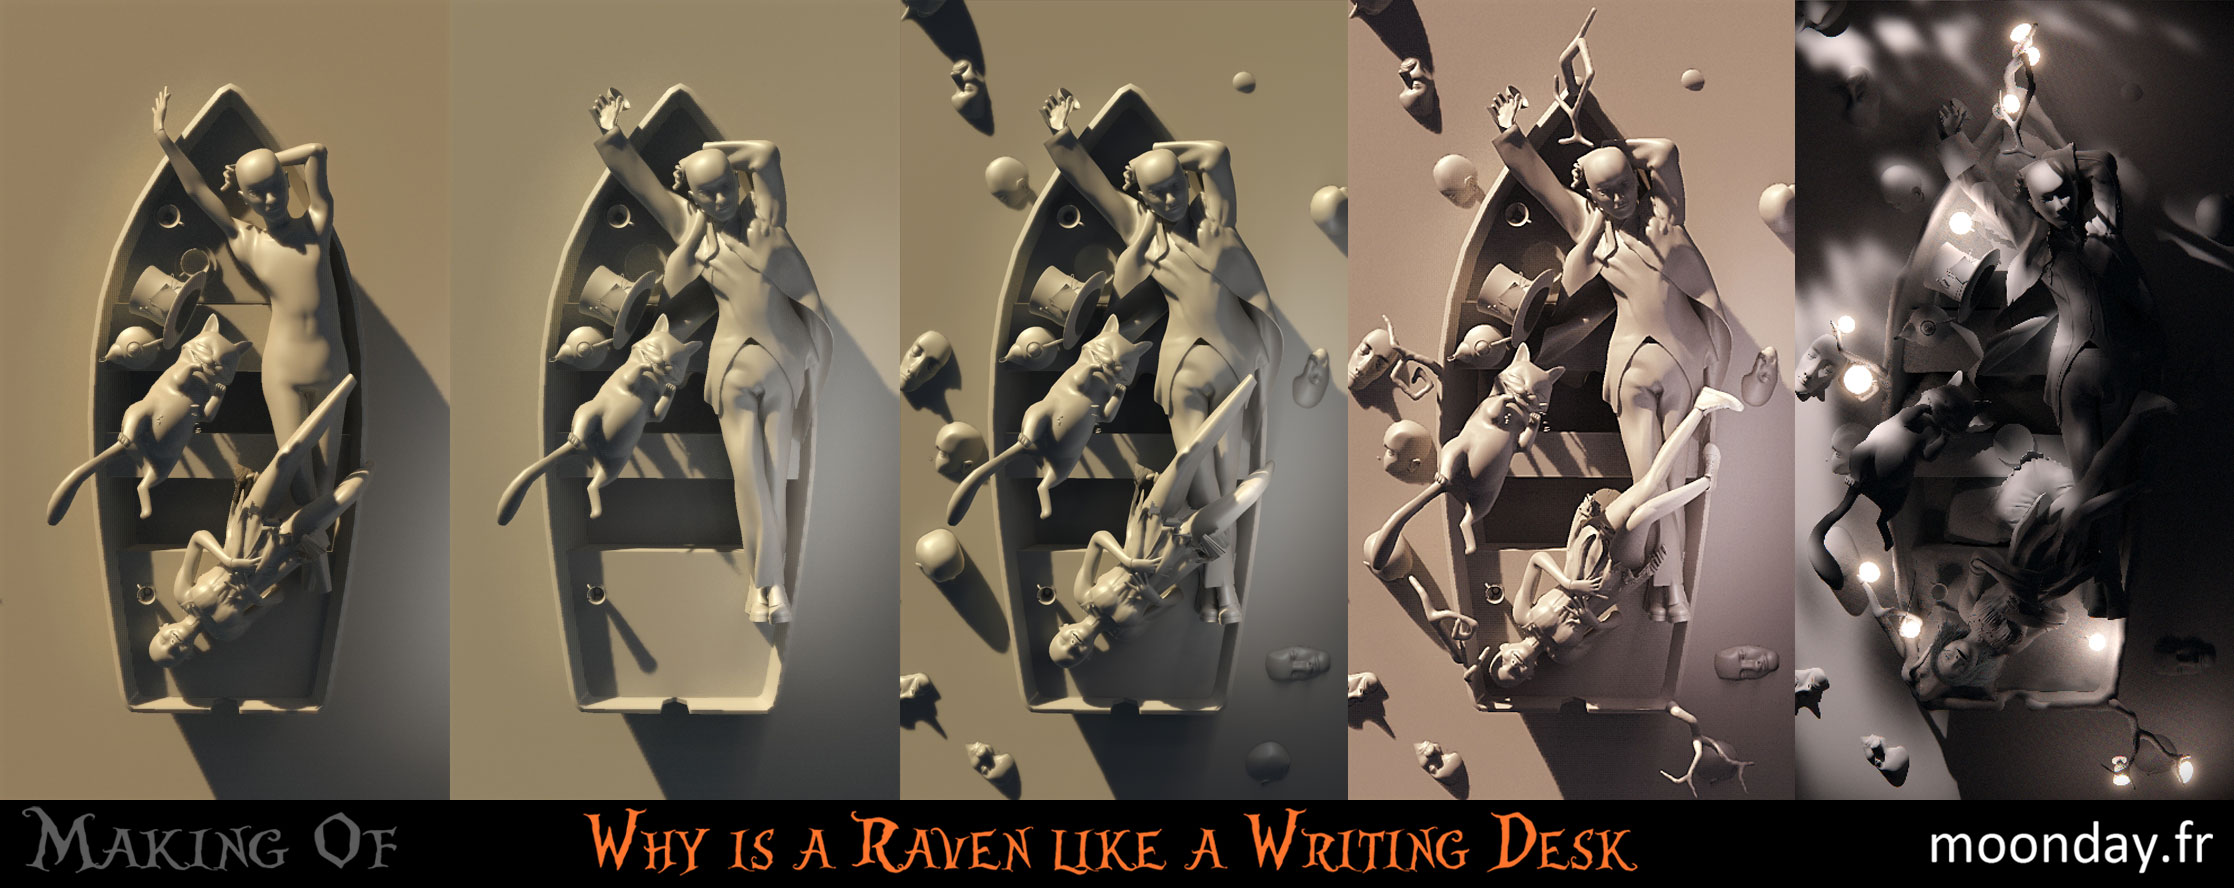
Visually A light filtering through branches got me interested so I started several tests to get some sort of light/shadows look. Cups containing candles that could add magic to the final render.
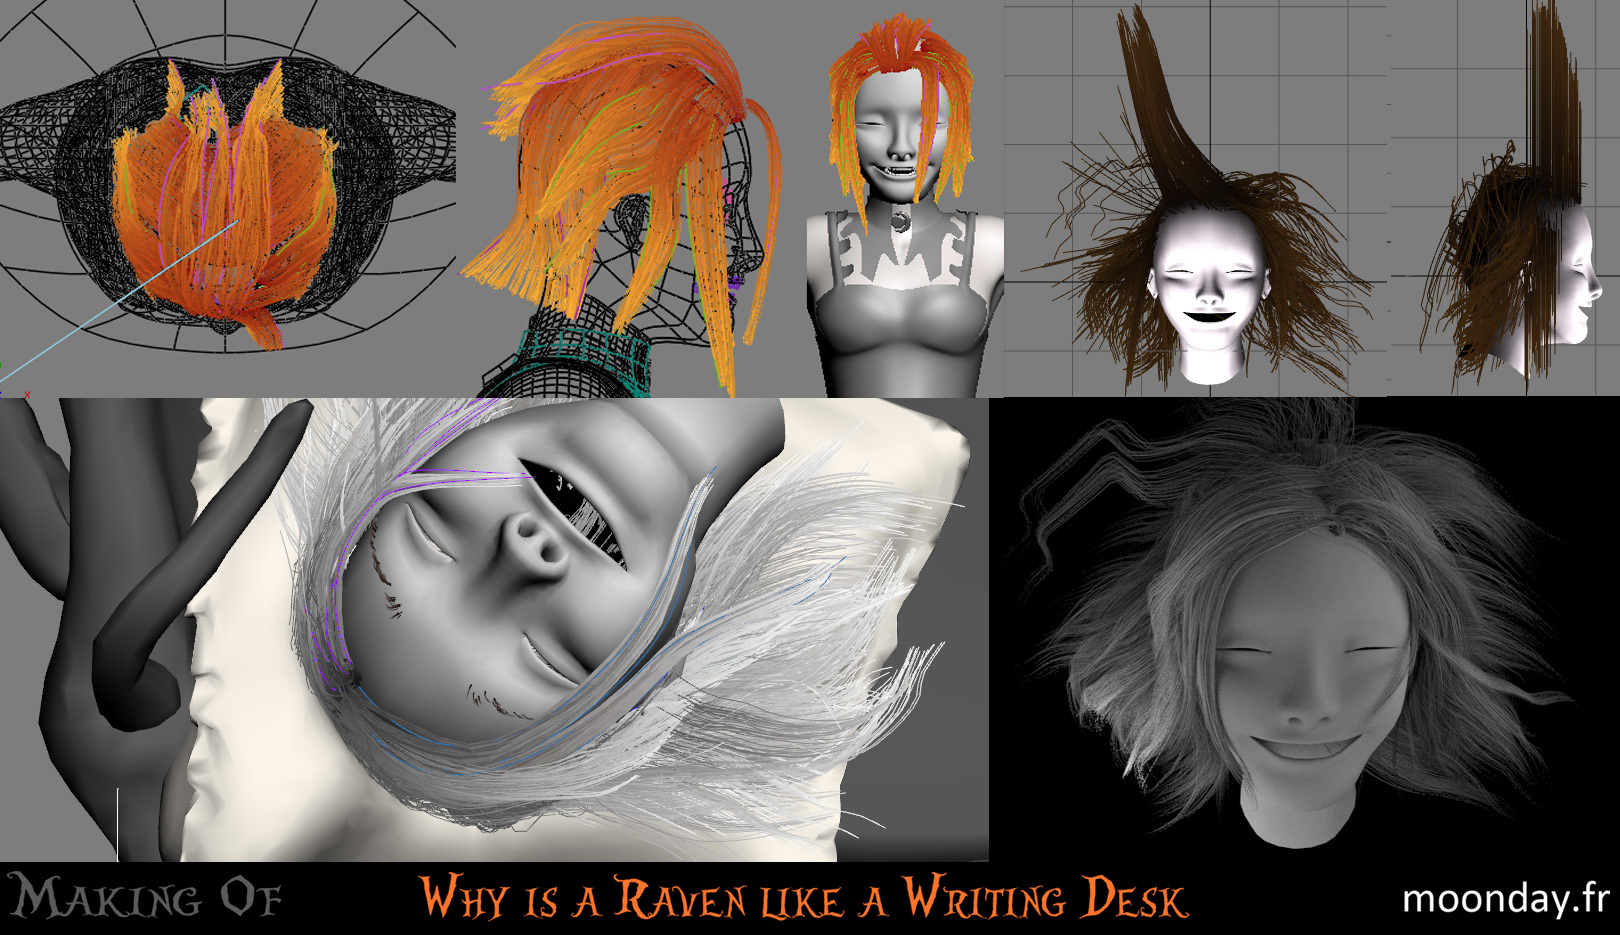
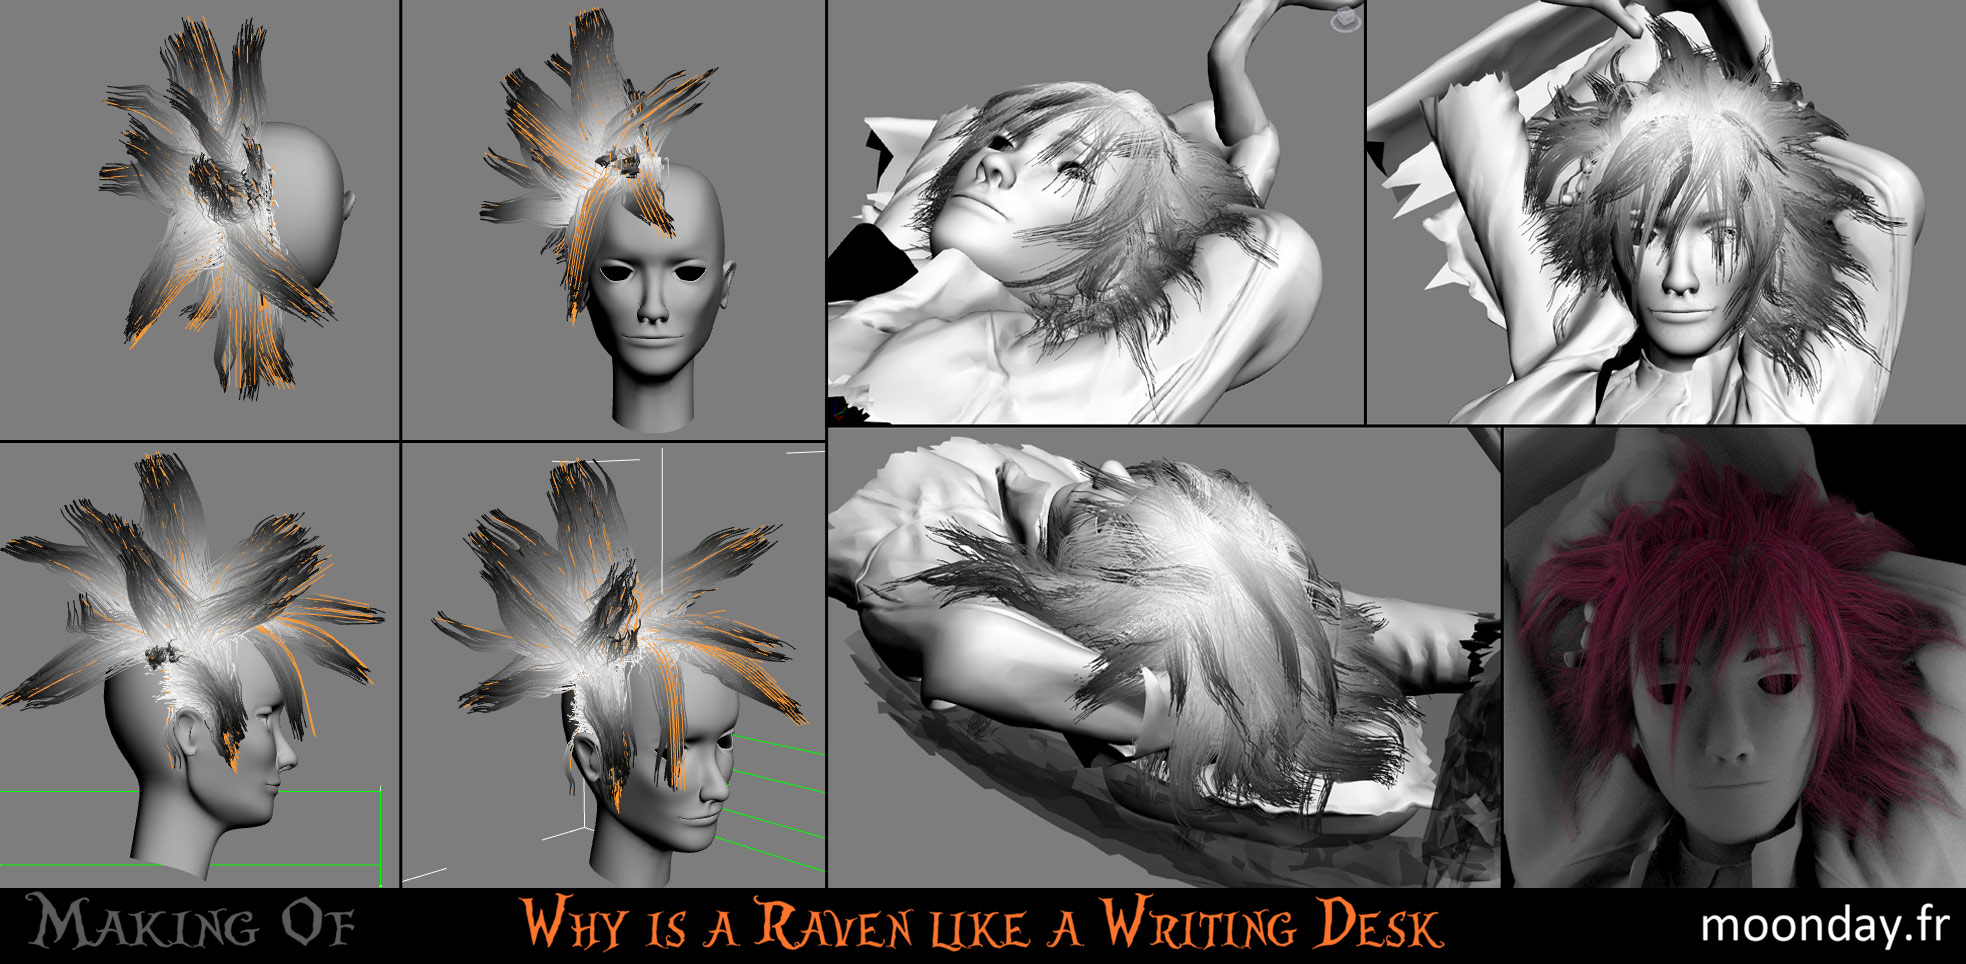
IV – Hair&Fur

For Alice hair I initially made a modern haircut . Unfortunately a crash corrupted my scene and I had to start the styling from scratch, this time starting with Alice lying on a cushion which served as interactive geometry during brushing. Then a few strands based on splines to cover the forehead to make them look a bit tamed.
About Sideshow bo… The Mad hatter, I used the same method, separating main strands before the brush process.
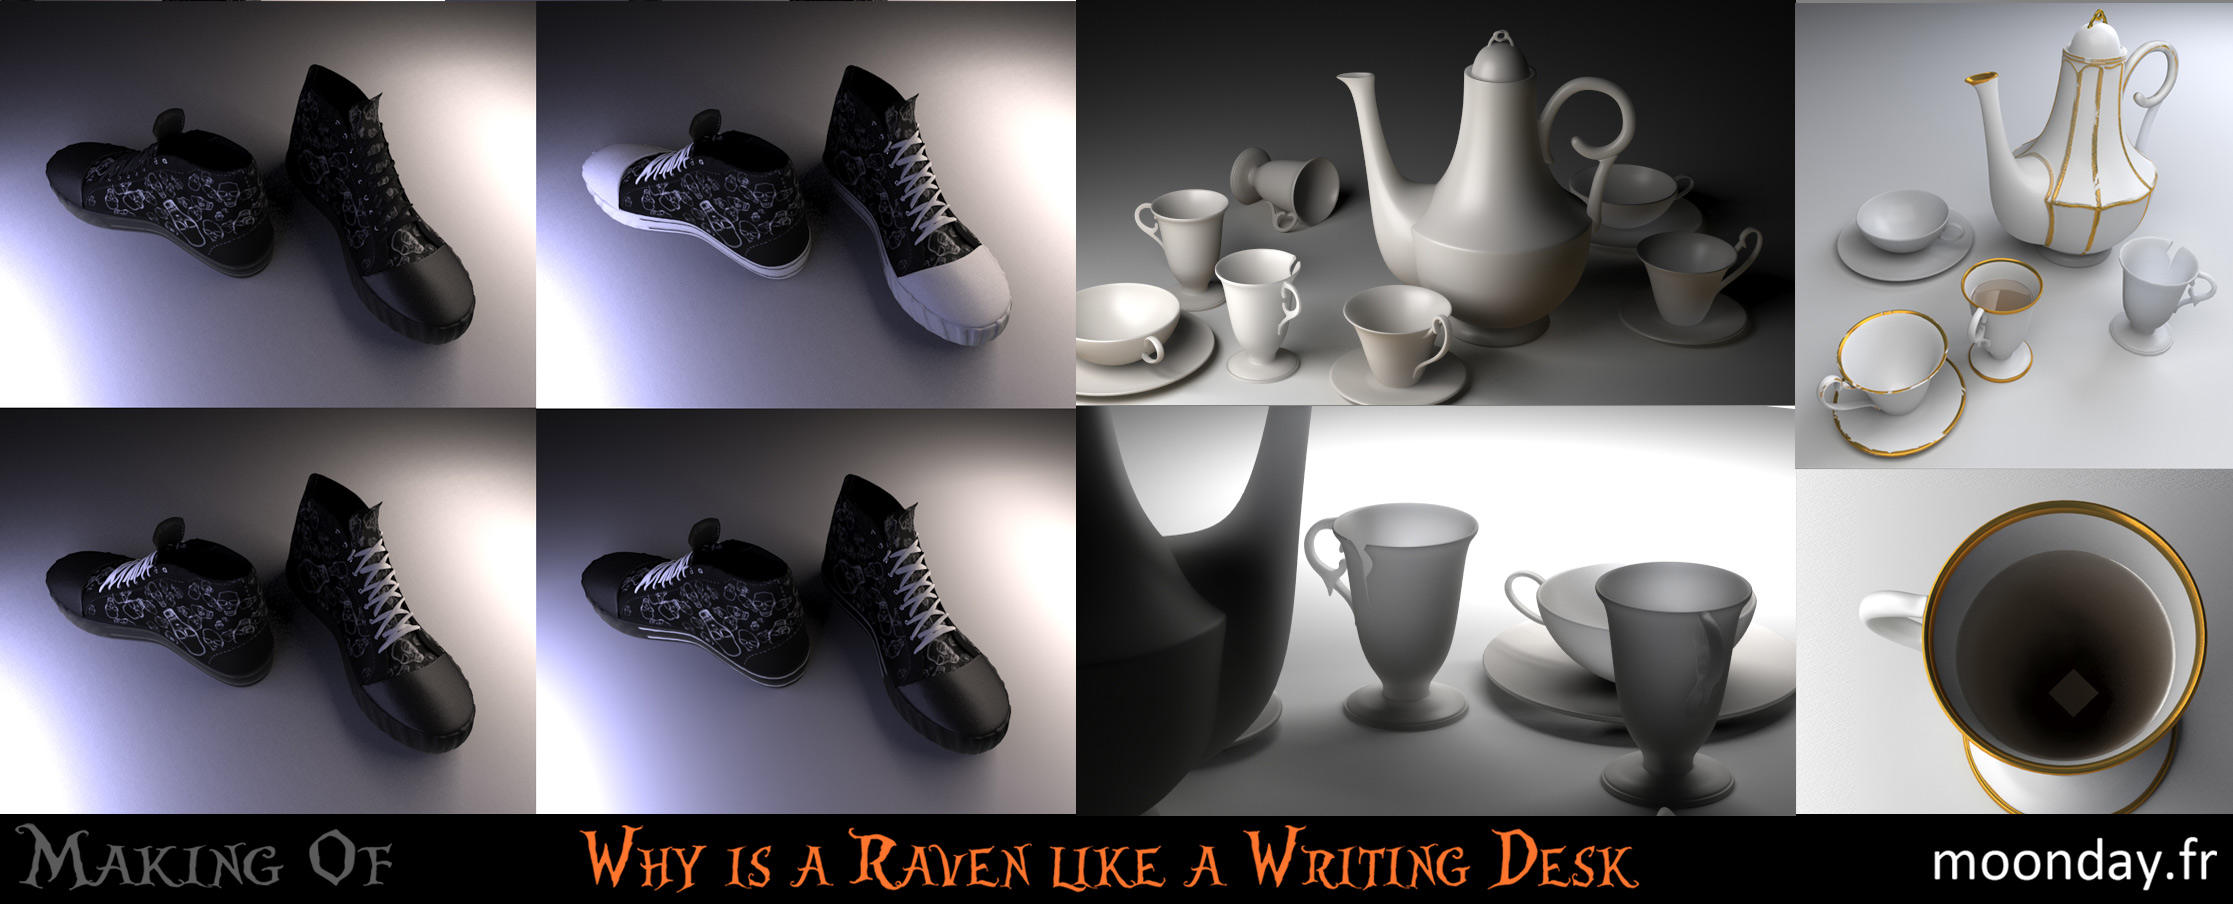
V – Tests
The part I like the most today: the creation of textures and shaders. With the little knowledge I had at the time, the textures were summarily created. I was still trying to learn how shaders worked. After trial and errors for a few days I launched a plethora of tests to get realistic mugs, half transparent dress, a plastic side for the Mad Hatter clothes, an acceptable wood for boat etc…

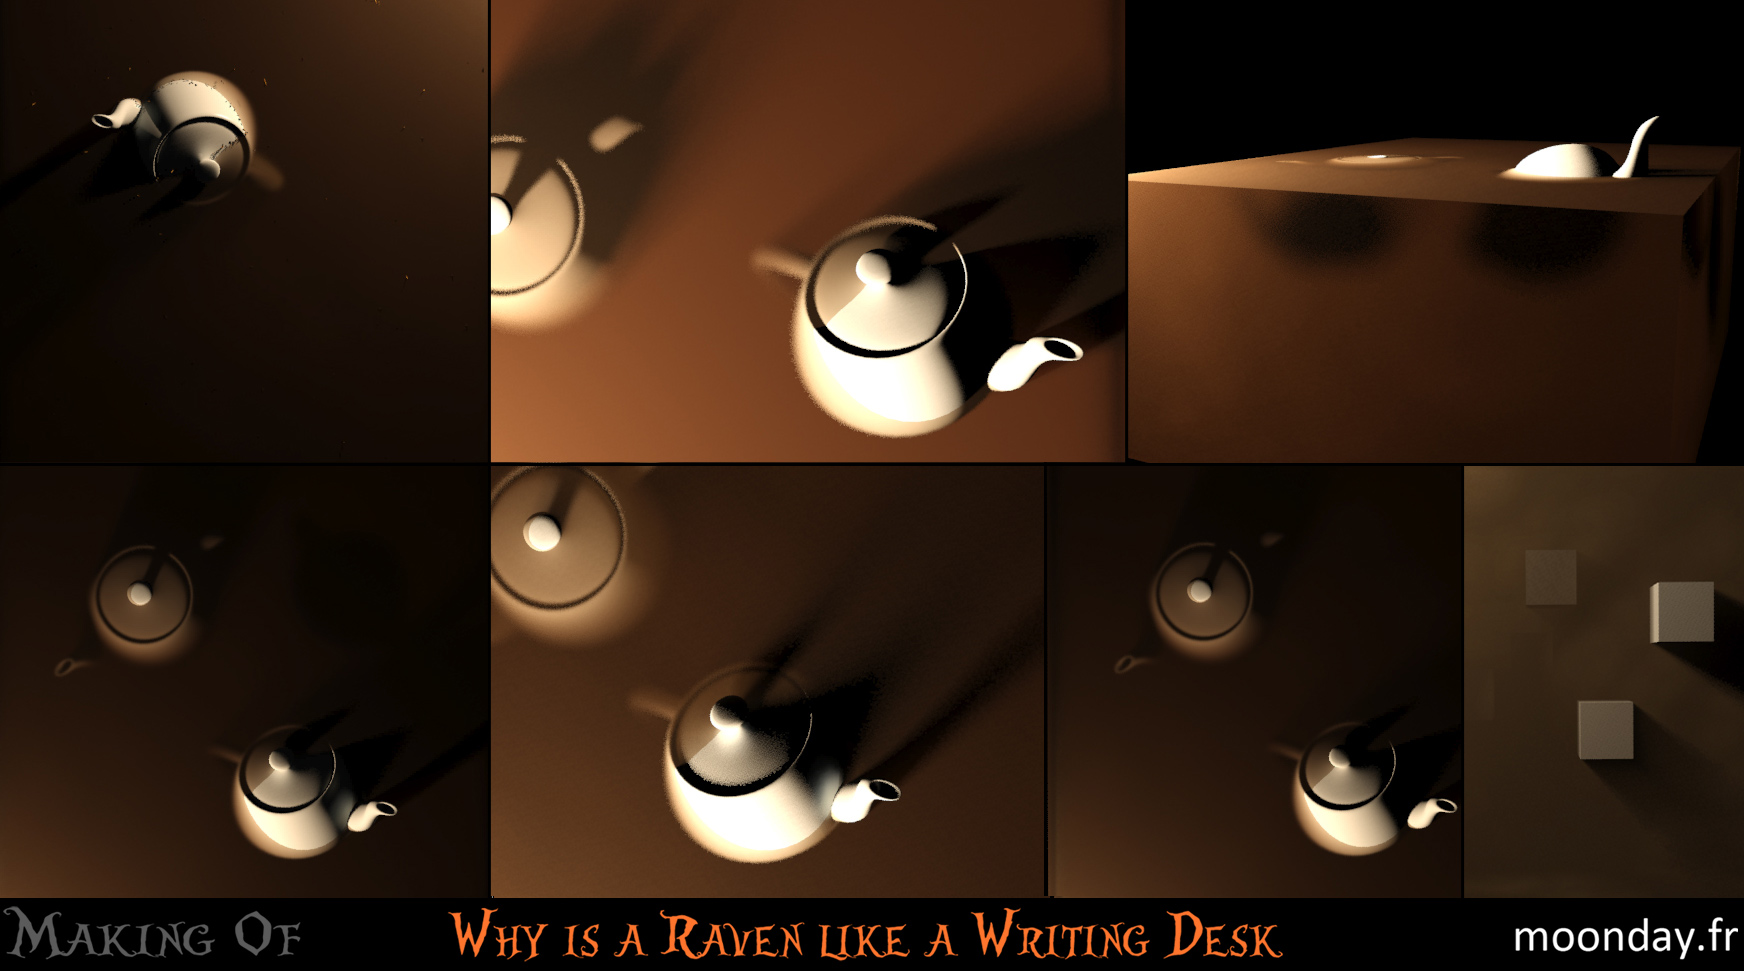
And now we come to the last challenge of the project; the muddy waters of the moat. How to make a transparent surface that gradually becomes muddy while projecting rays of light filtering between objects. I started with basic tests :
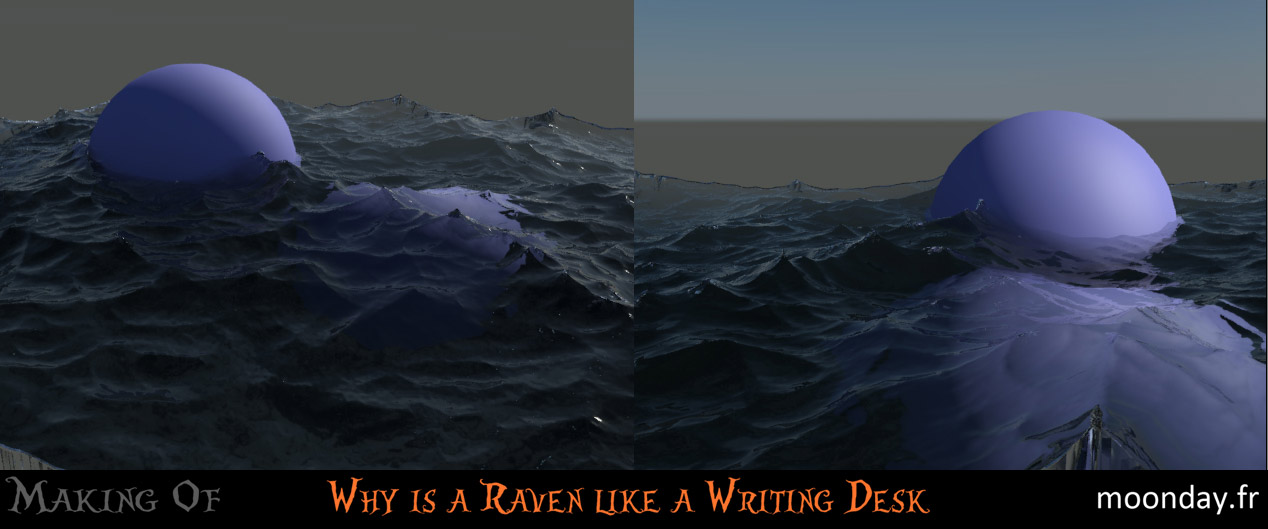
Finally I filled my bathtub with water and put some soil inside:
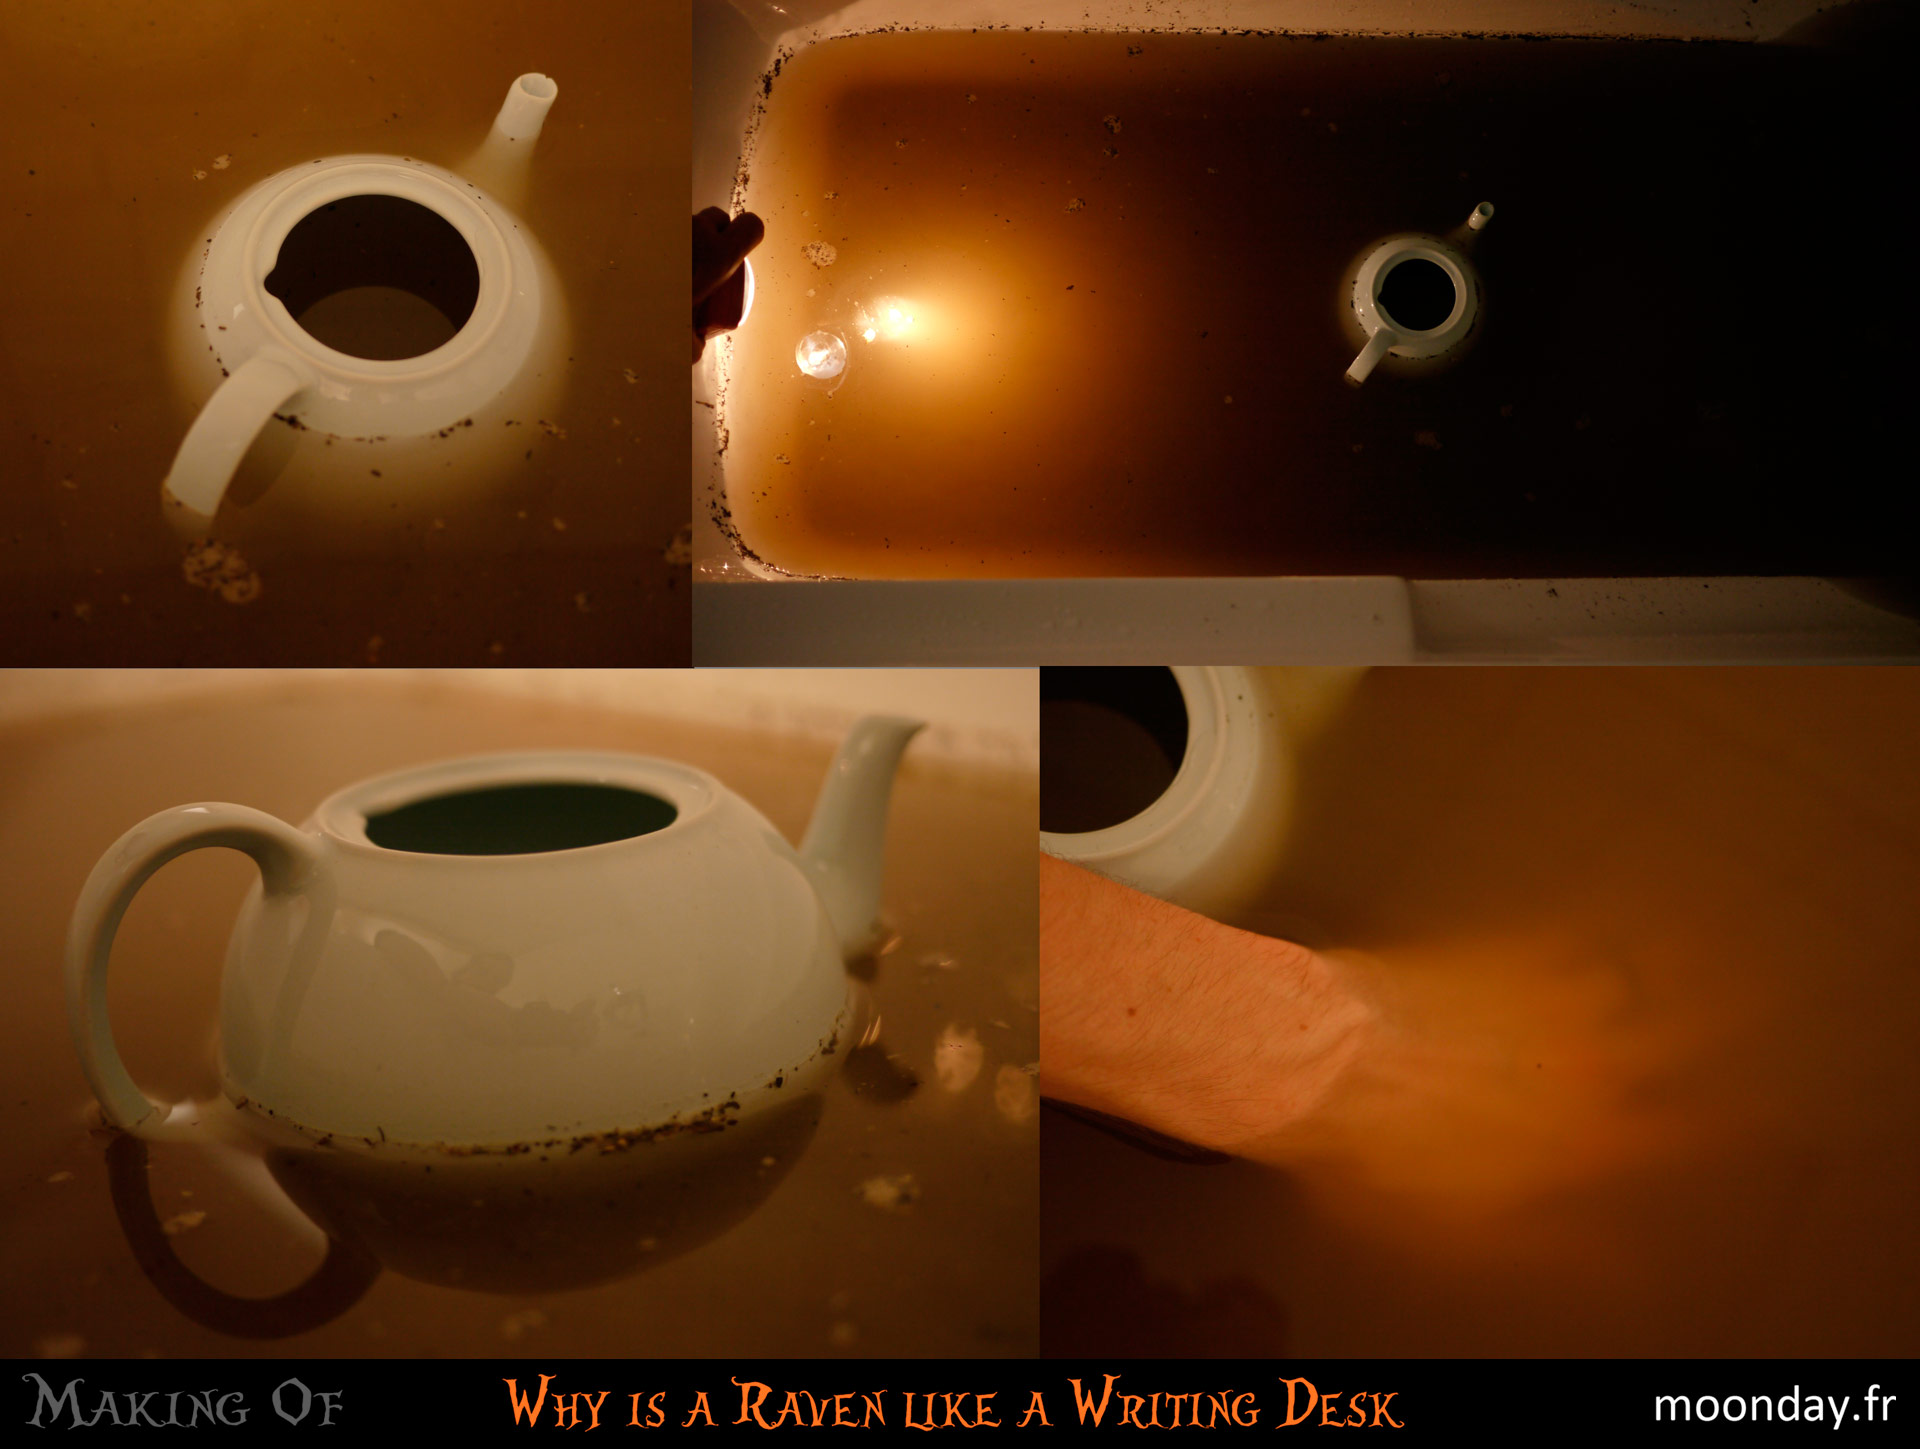
The tricky part was the volumetric aspect of water mixing with refraction appearance and gradual dispersion. I Then discovered the volumetric shader from Mental Ray which created exactly this type of effect but it was not compatible with my type of lighting and rendering.
In the end I rendered several passes composited together in post with the help of a Z depth pass.
VI – Conclusion
Despite having rendering times that was quite substantial (Water has taken approximately 50 hours to render) the image has been composited and sent in time for the contest.
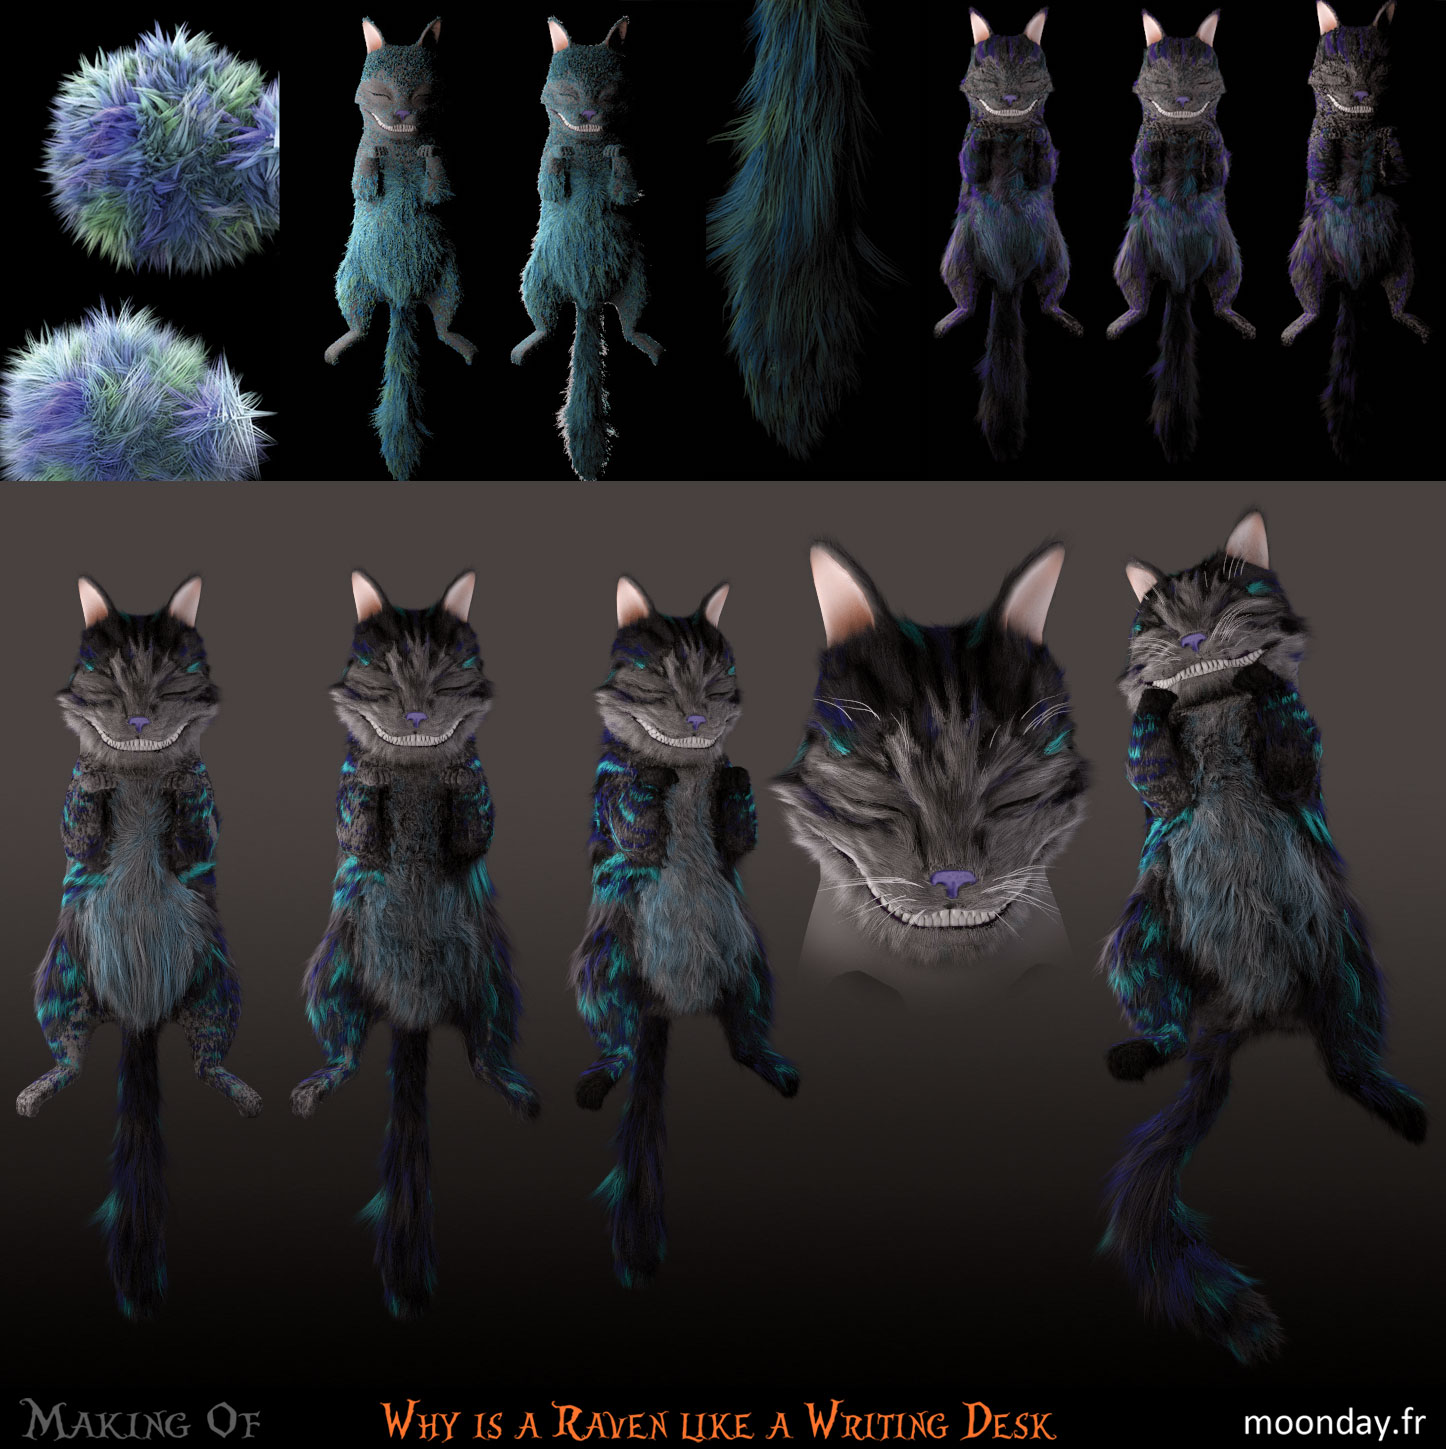
My biggest regret is not having done enough research in advance to help the legibility of the final image. However it seems that I became a master of hair&fur in the space of two months which is significant. This project was the initial nudge to create other projects that followed since 2010 (The Cheshire Cat has a portrait from 2012).
A big THANKS to l’Andalou who pushed me to participate the contest, even if the artwork has not finished on the podium it was nevertheless published in 3D World magazine February 2011 issue, as well as in August-September 2010 CG Arena magazine, moreover it’s part of the CG Arena gallery and 3D Total gallery since June 2014.
I hope soon to return to this type of artistically liberating project.
Thank you for reading this making of.