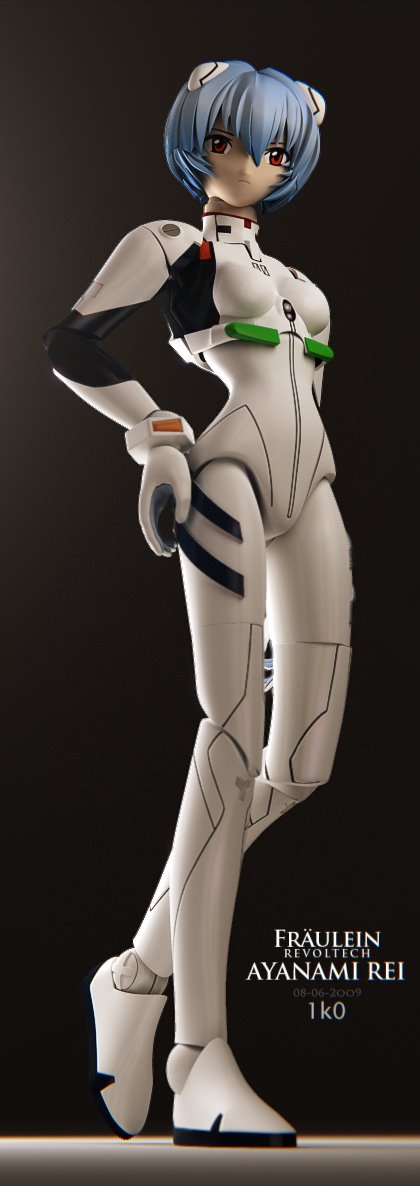
At last, 3D model completed! It’s not perfect but it looks like the original model.
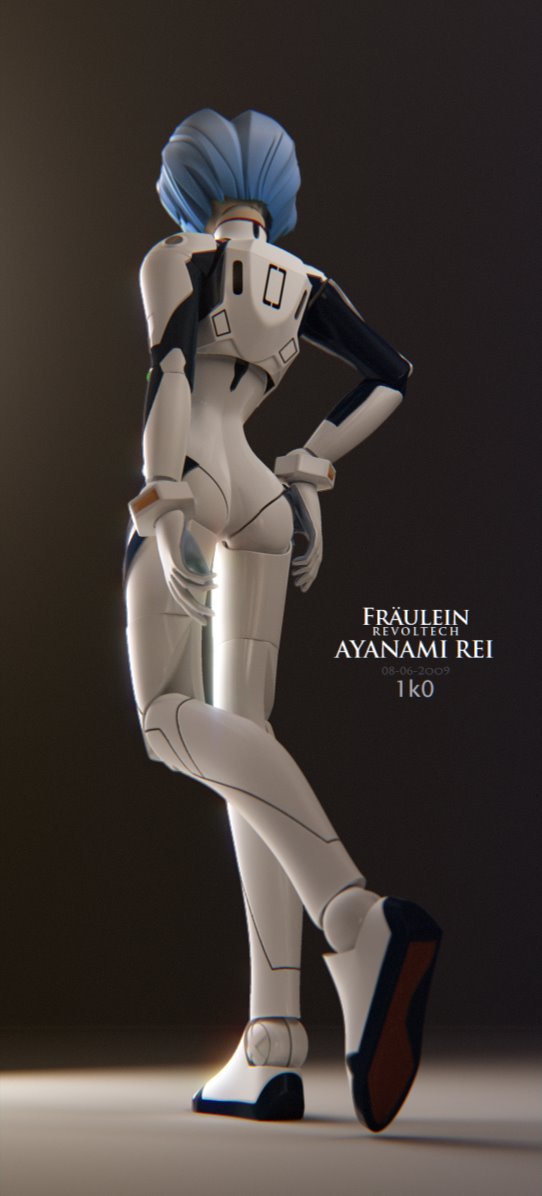
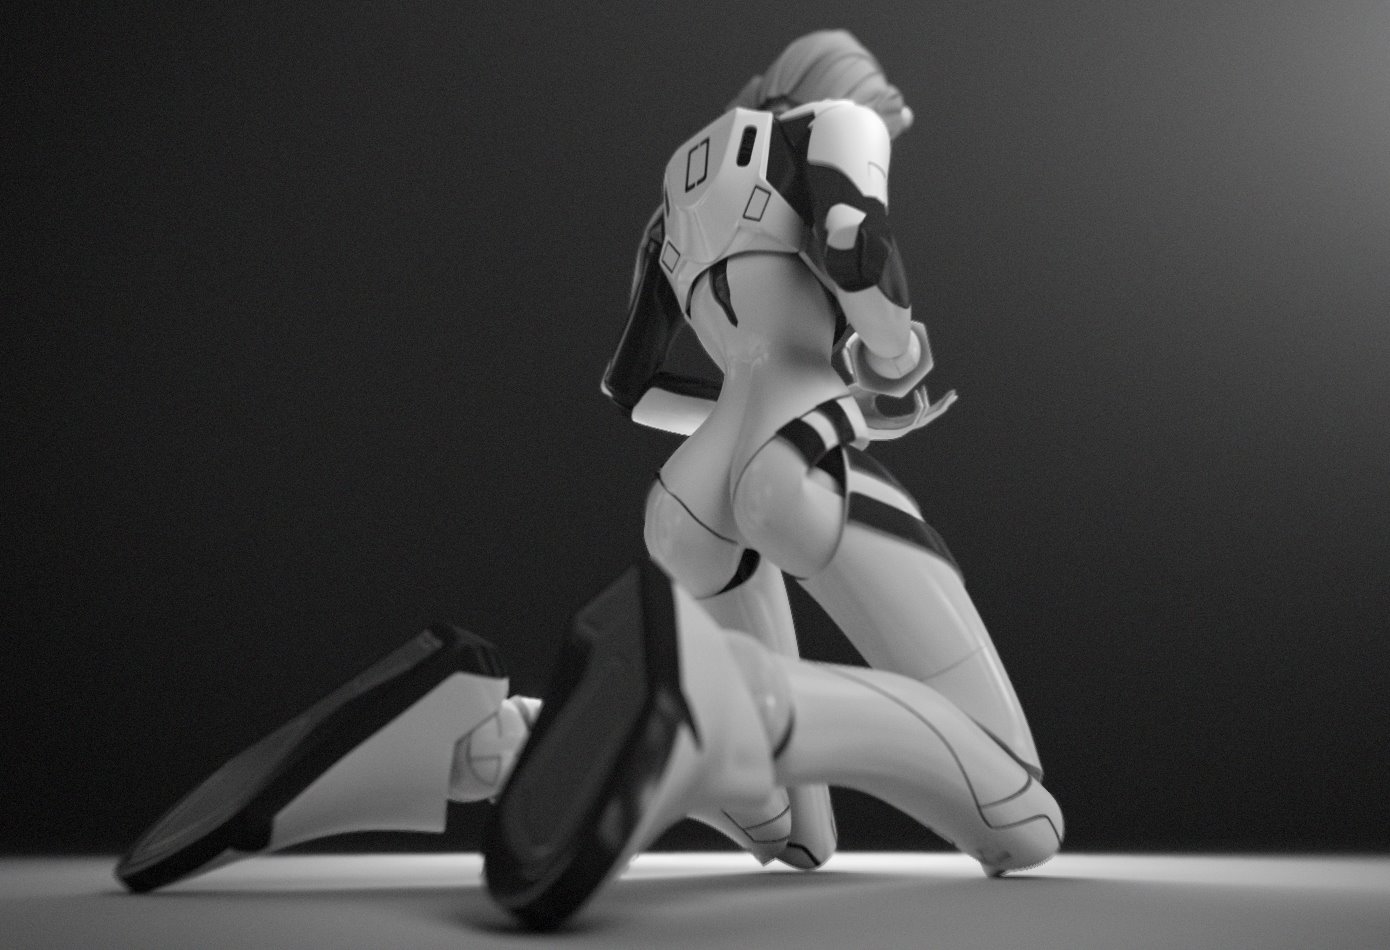
As you can see, most of the details have been done in displacement mapping, to make a lighter mesh and simple clean topology.
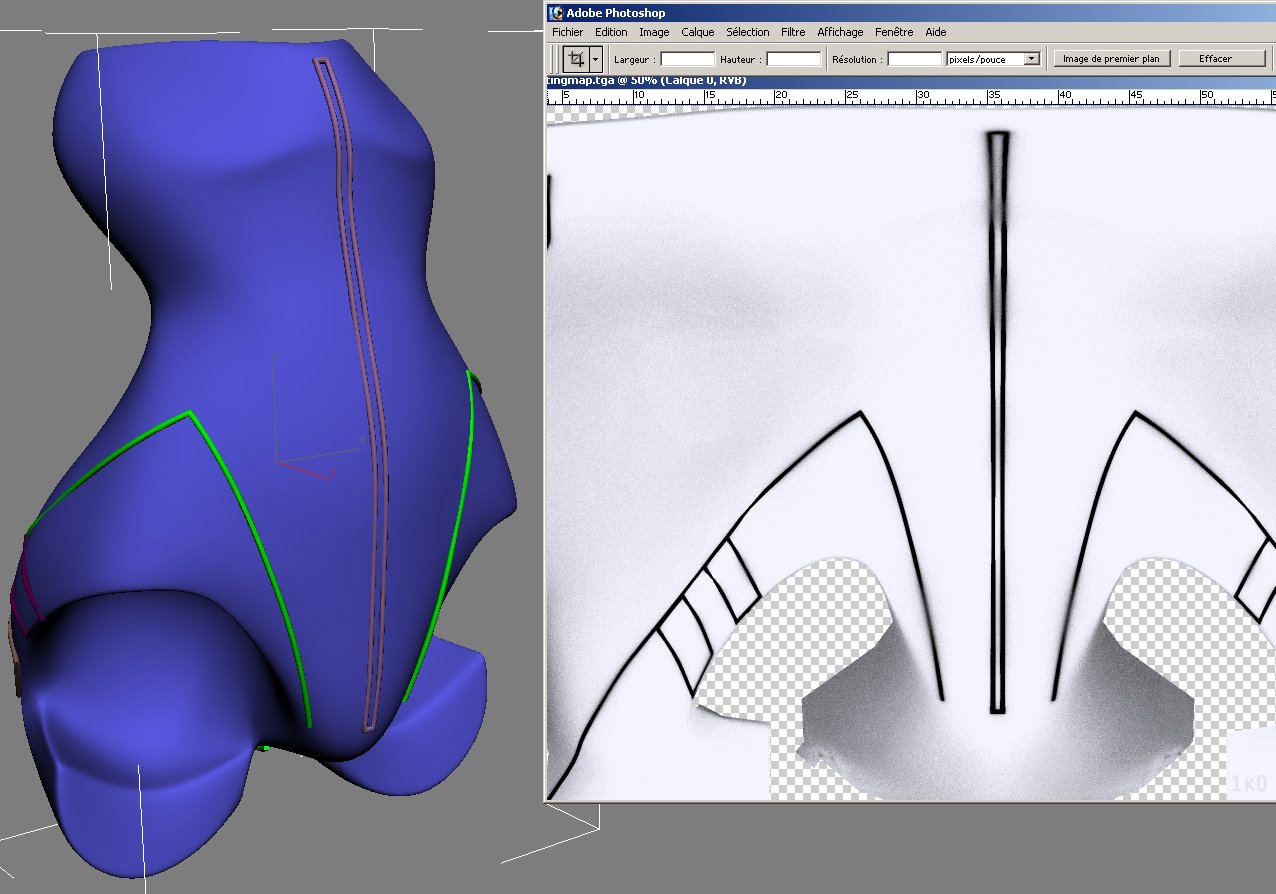
To help me drawing my displacement textures, I made splines on the model and use “render to texture” to edit them in photoshop.
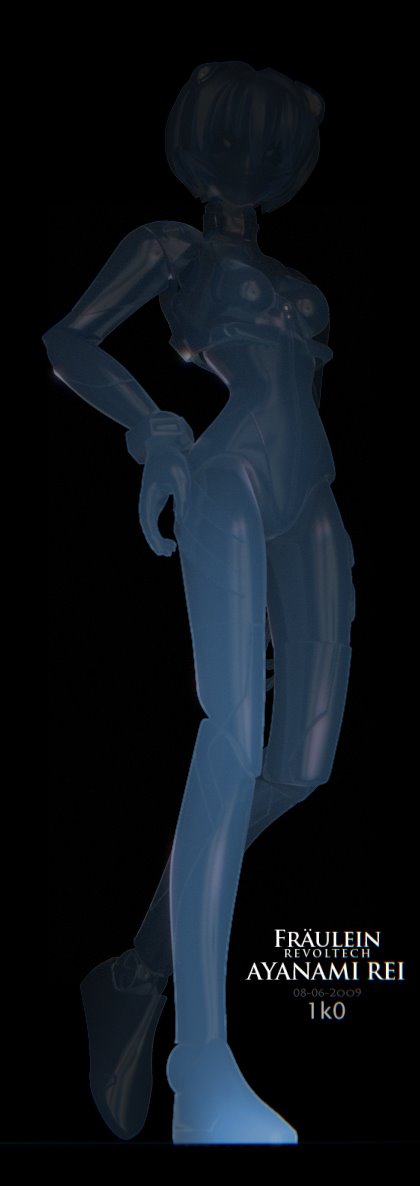
I was able to made a nice clean pelt mapping in the unwrap process for the first time!
For lighting it’s a classical 3 point light set-up, 3 area lights/raytraced shadows and a sky light for the low ambiance.
Compositing in After Effects: a bit of desaturation, curves, little depth of field, add a white glow, chromatic aberration , grain, typo.