Time Travellers – WIP 17
I pushed away this next big step for too long, now it the time to dive in sculpting bodies and make them come to life with textures!
The work started by adjusting the bodies poses, once again and also by adjusting some proportions on the female character. Then I finally jumped on the multi UDIM tiles process. I initially thought that 1 UV tile for the the upper body would be enough for this character but after some poor resolution baking results and mostly after seeing the high details results I could get on the male character: The female upper body was split in 3 UV spaces with a large one for the face. This means the baking had to be done in Painter.
J’ai repoussé cette étape importante bien assez longtemps, il est l’heure de passer au sculpt phase 2 des corps et de leur donner vie avec des textures!
Le taf a débuté par un ajustement des poses ainsi que des proportions sur le personnage féminin.
Ensuite est venu le temps de passer aux UDIM. A l’origine, je pensais qu’une seule tile d’UV serait suffisant pour le haut du corps du personnage mais après quelques résultats de baking assez pauvres et surtout après avoir vu ce que je pouvais obtenir sur le perso masculin: C’est décidé, le haut du corps de ce perso aura 3 tiles d’UV dont une large pour le visage.
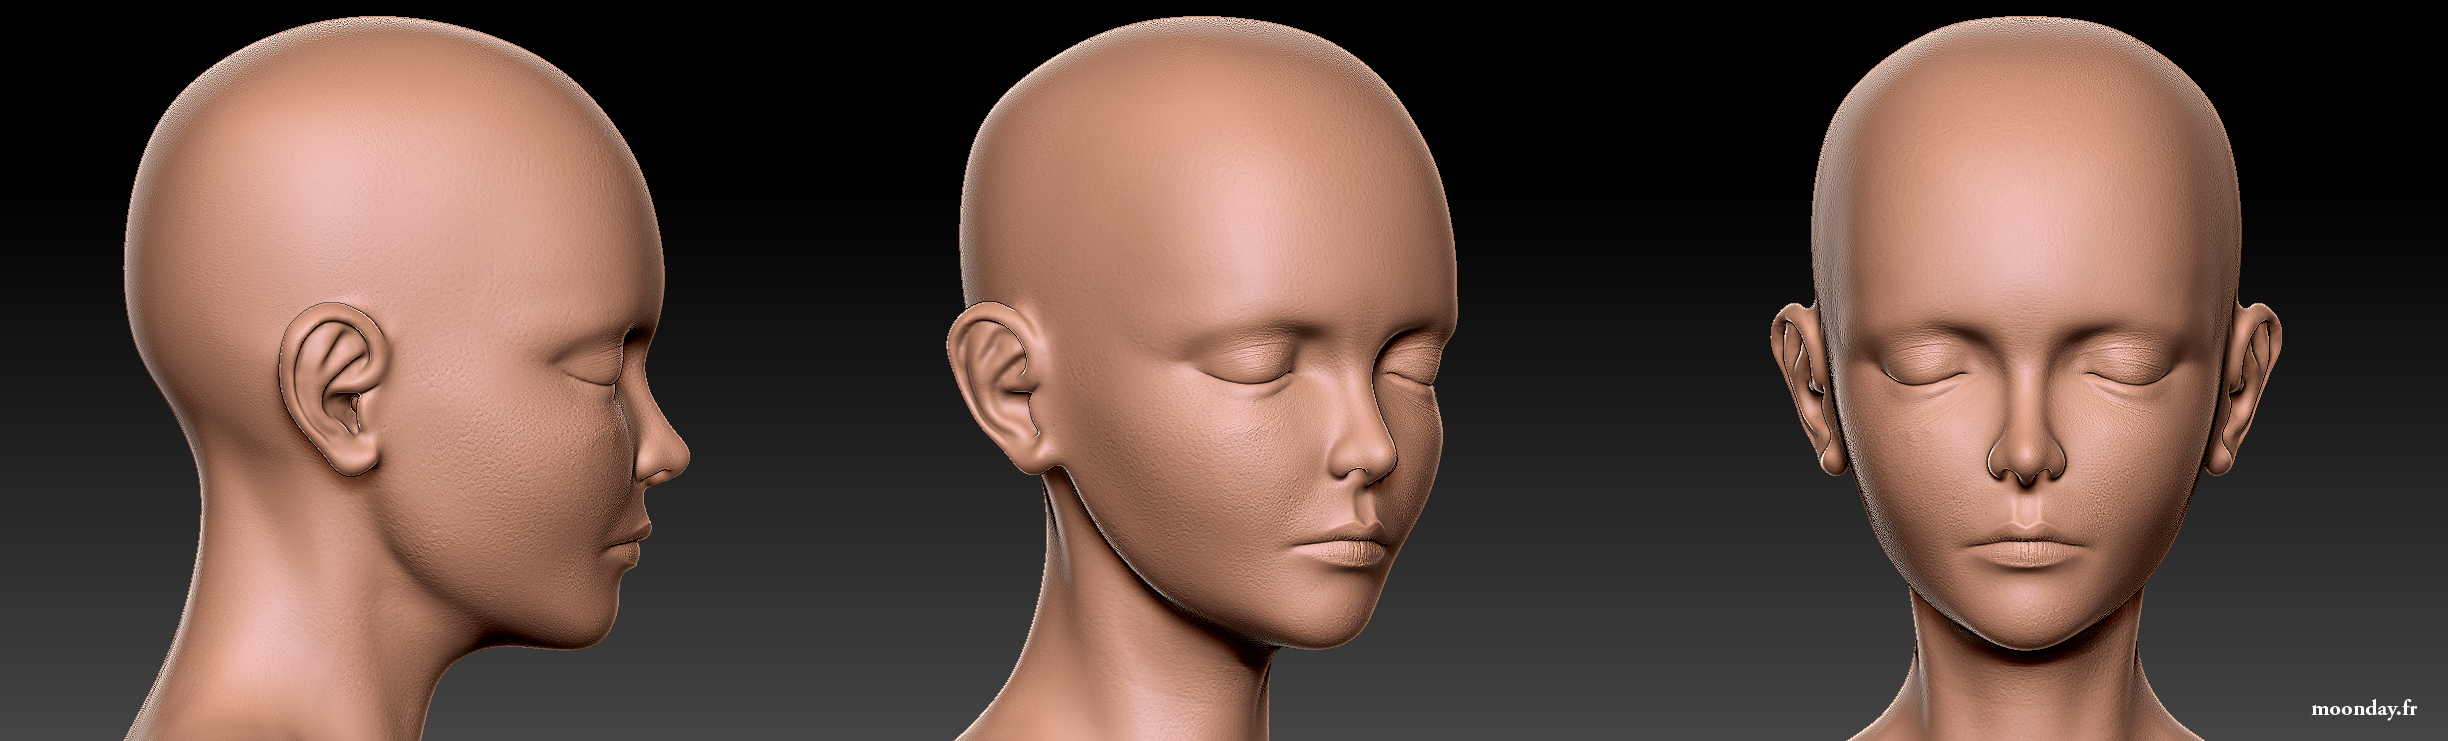
The face proportions were adjusted
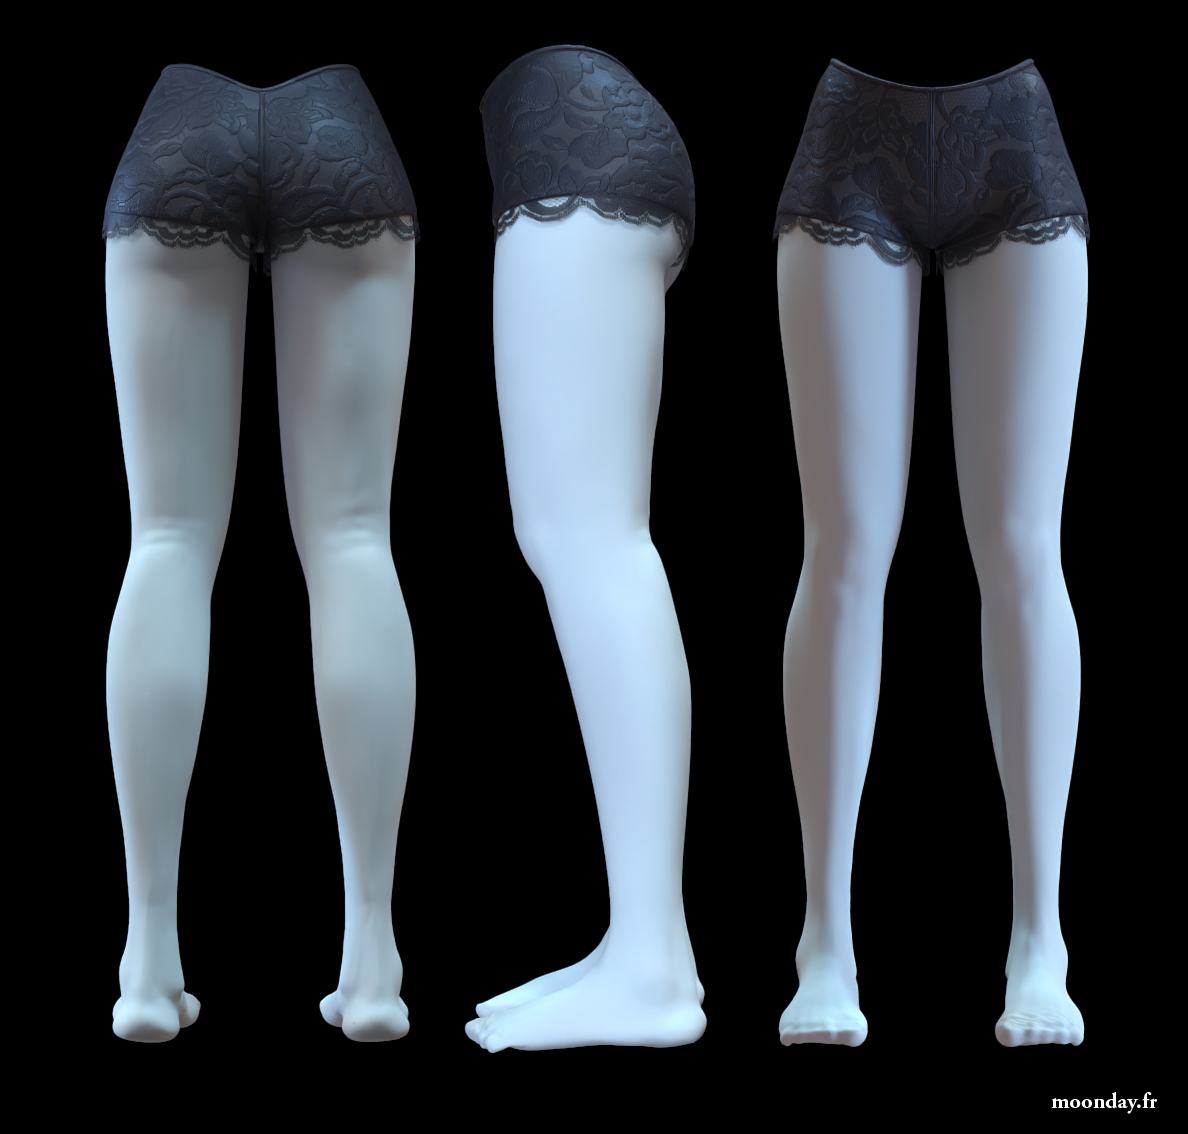
Legs proportions were also adjusted
At first, the Zbrush baked displacement map looked good inside 3ds Max (minus the resolution) but when I imported the baked results from Painter or Designer, the faceted look knocked on my door. It certainly comes from the way the different softwares internally manage the subdivision. The solution I found was to avoid using the subdivisions option in the Arnold properties modifier, only use the Displacement options and add an Opensubdiv/Turbosmooth modifier below the Arnorld properties modifier. The old way.
Au départ, le baking de Zbrush sortait plutôt bien dans 3ds max (la résolution en moins) mais en important les résultats de Painter, ou de Designer, l’aspect facettes s’est fait clairement ressentir dans le displacement au moment du rendu. Cela vient probablement de la gestion en interne de la subdivision qui est différente entre les logiciels. La solution: Ne pas utiliser les options de subdivisions dans le modificateur Arnold Properties, seulement les options de Displacement, puis placer un OpenSubdiv/Turbosmooth avant le Arnold Properties. A l’ancienne.
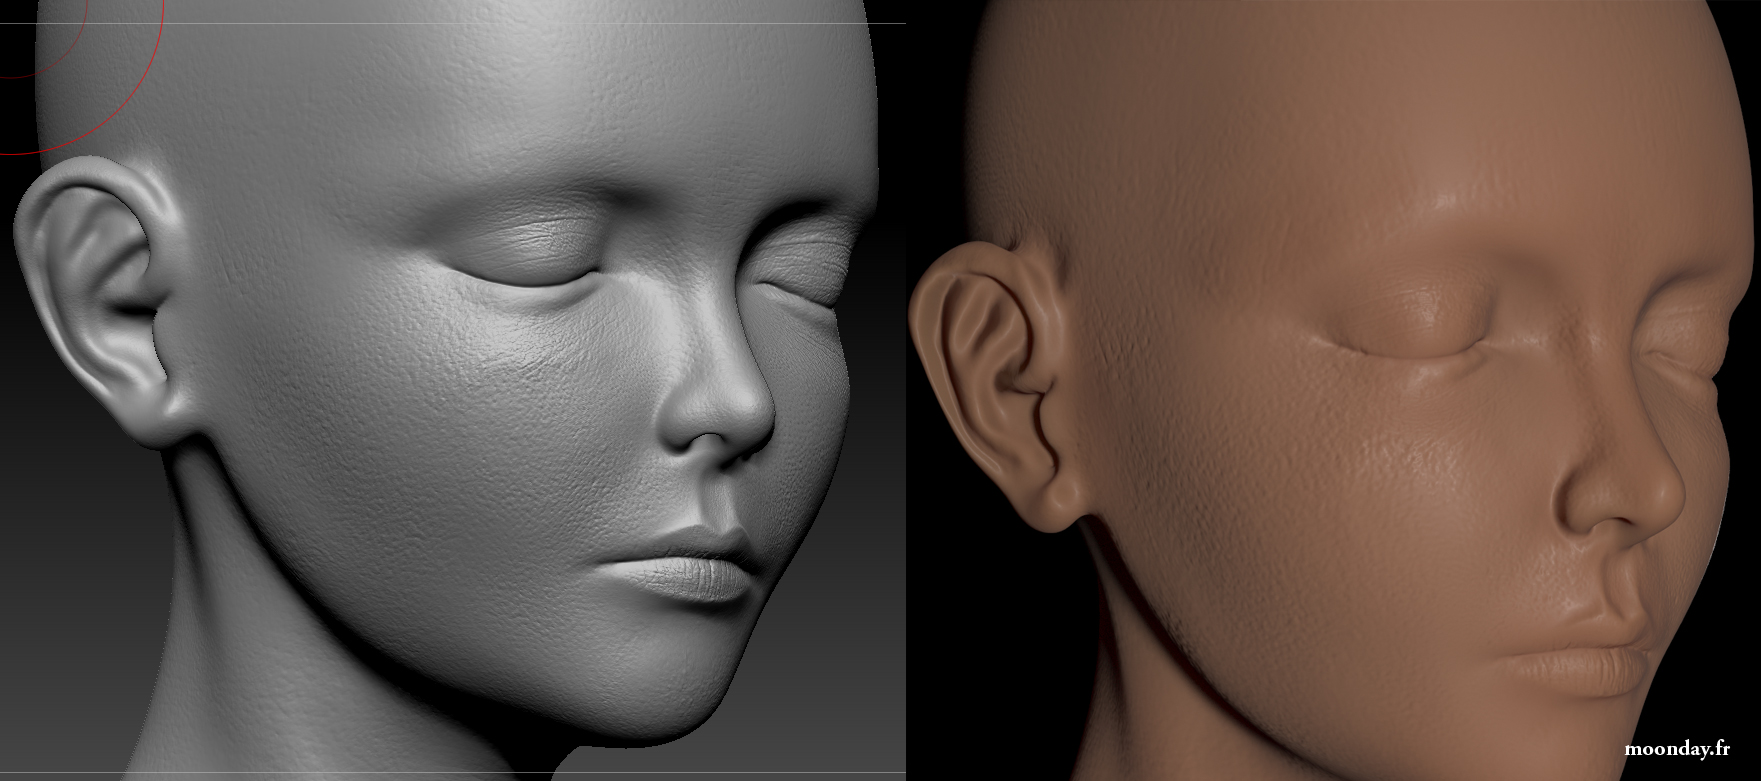
Zbrush details VS 3ds max 1 UV tile details
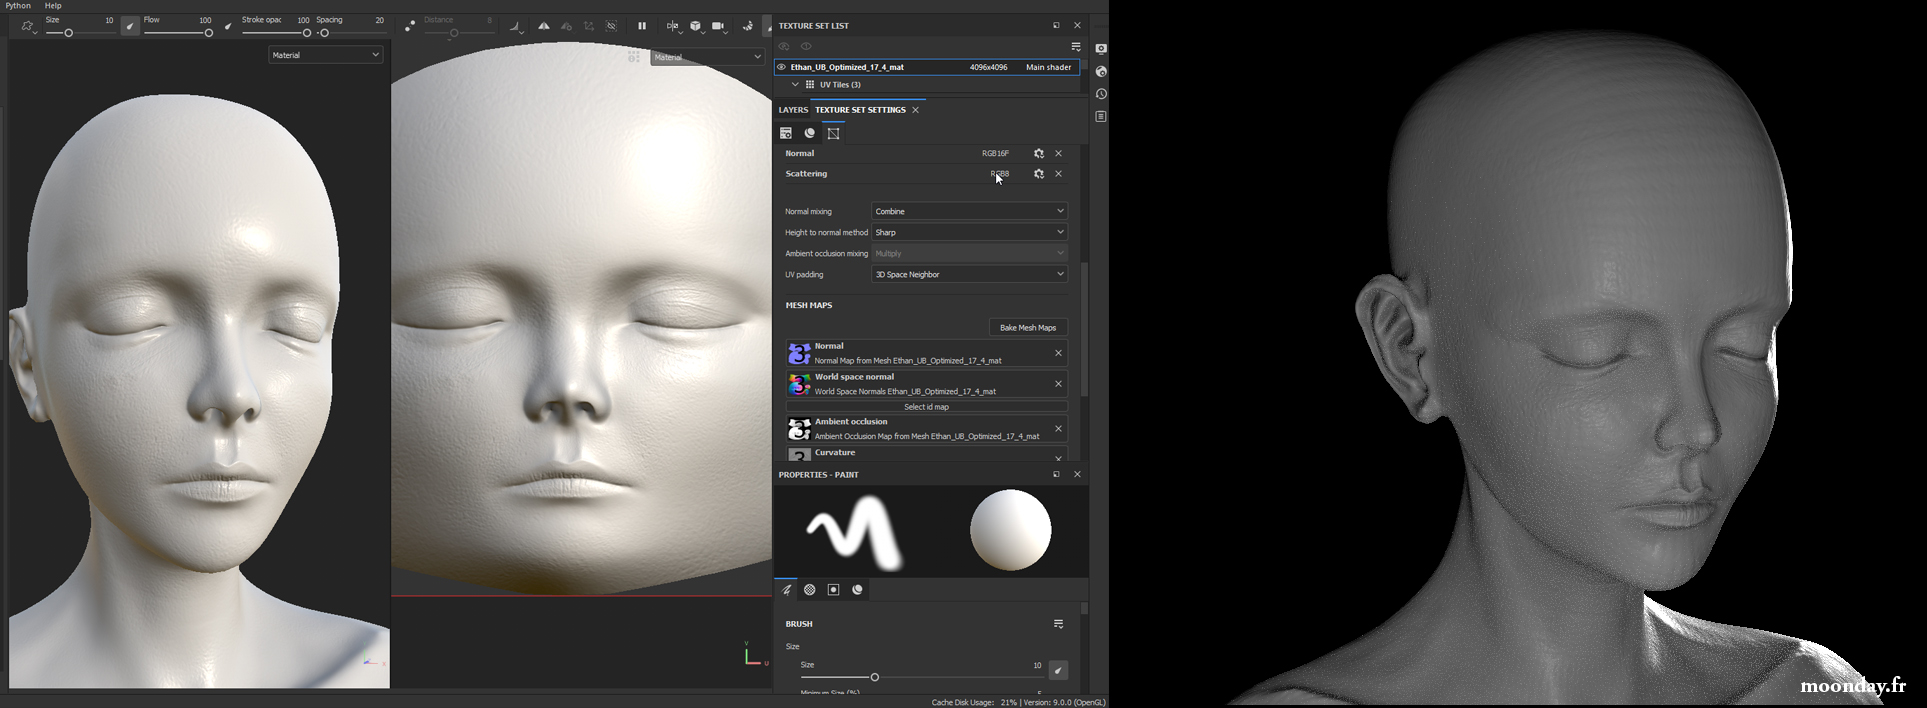
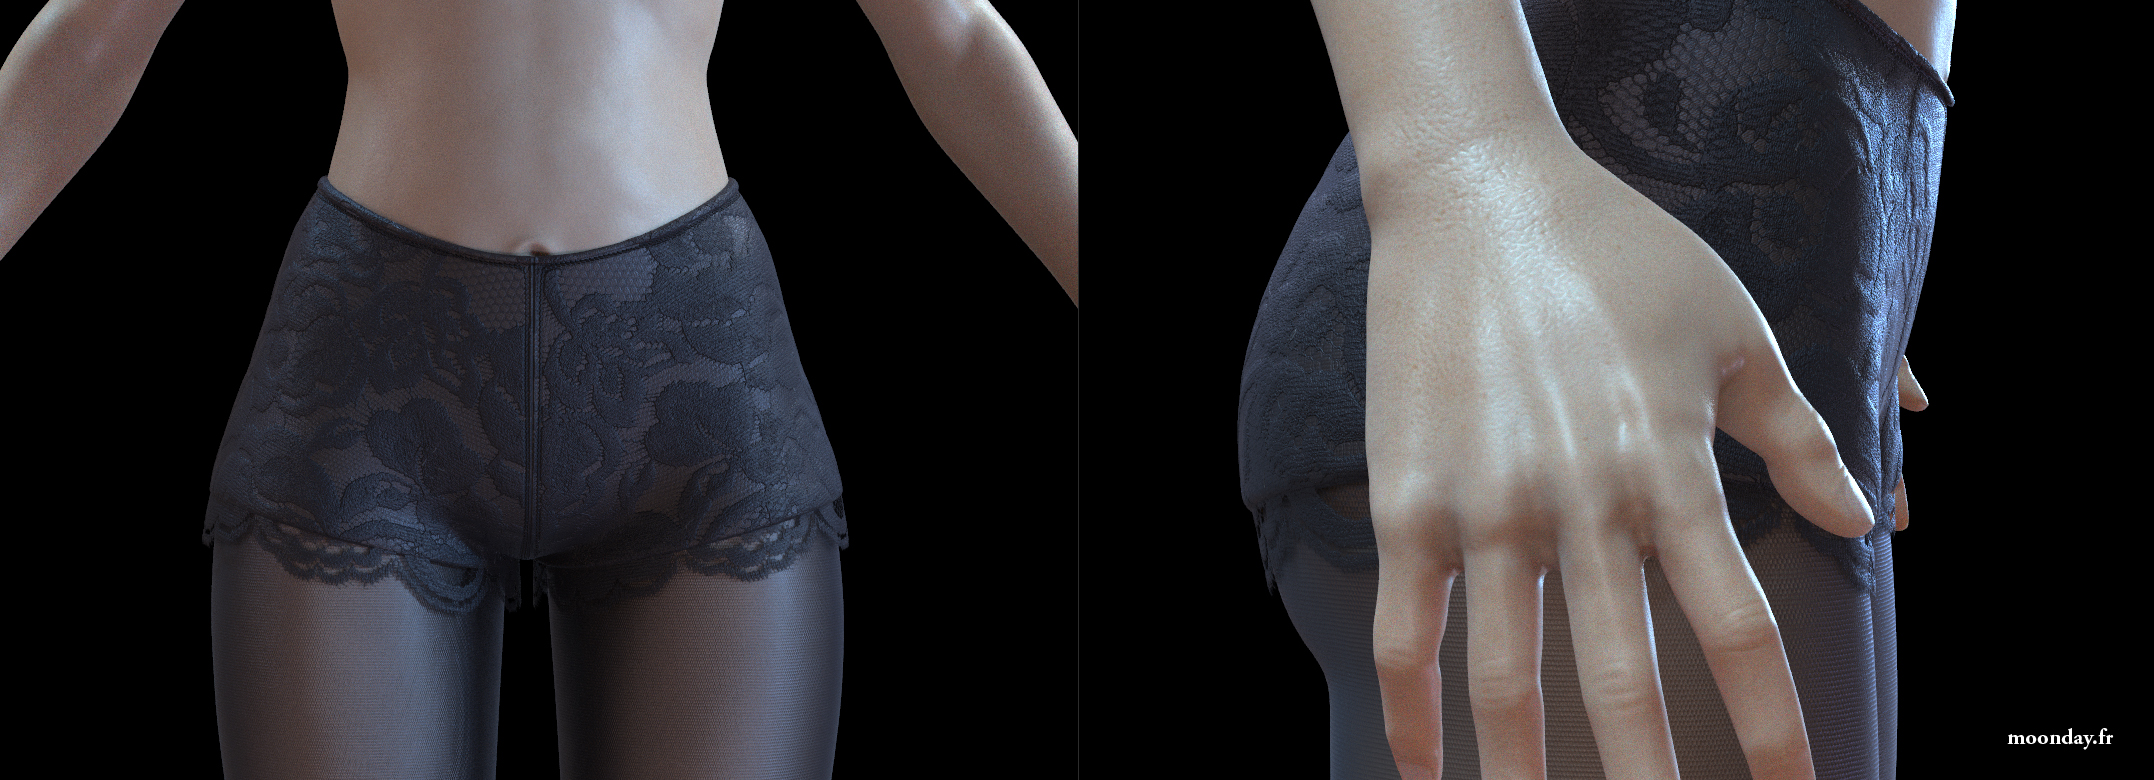
Height map used as “displacement” in Painter VS Displacement inside 3ds Max and Arnold
Needless to tell the multi UDIM workflow gives great details on the character’s face and the diffuse/roughness/additionnal bump painting works like a charm.
Nul besoin de préciser que le Workflow UDIM donne des détails très fin sur le visage du personnage et que la peinture se passe à merveille.
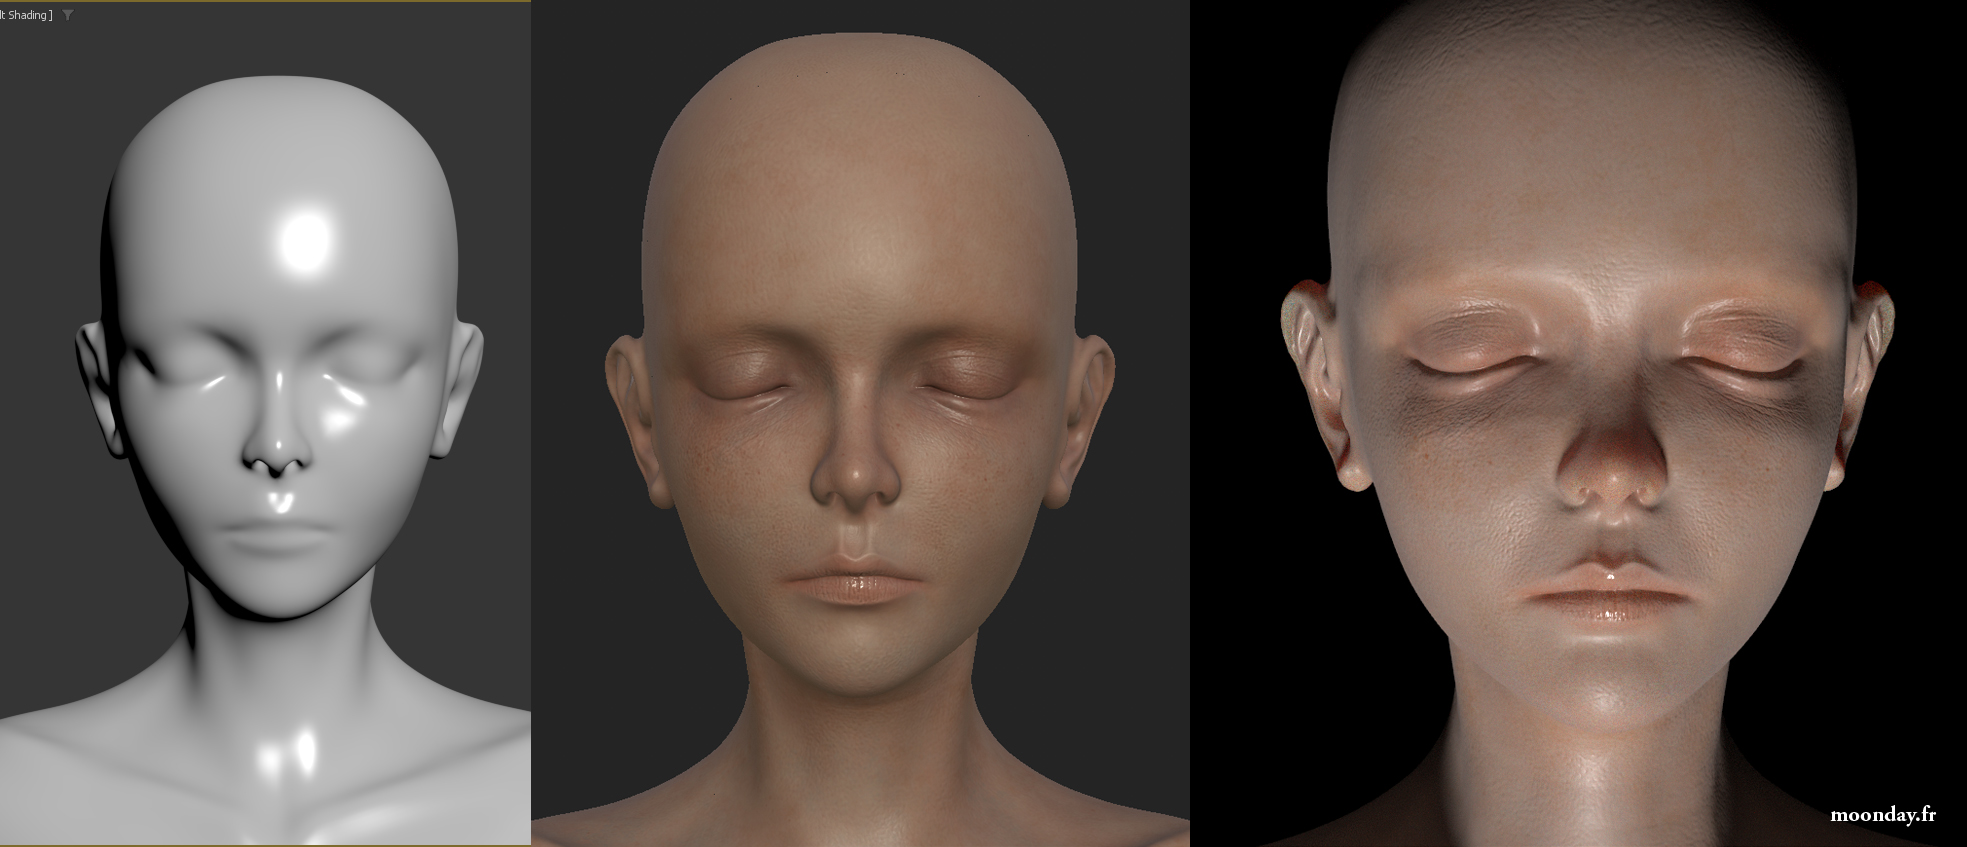
Original low poly mesh – Painter – Arnold