You’ve been waiting for it! Here is finally the VFX breakdown video from Versus: The Way to Shadow, followed by a complete explanation for curious people.
This article is also available in French and English PDF version.
Versus: The Way to Shadow
Making of
“The Man in the shadow”
I’ll try to cover here all the VFX aspects from Versus: The Way to Shadow, displayed in the VFX breakdown video.
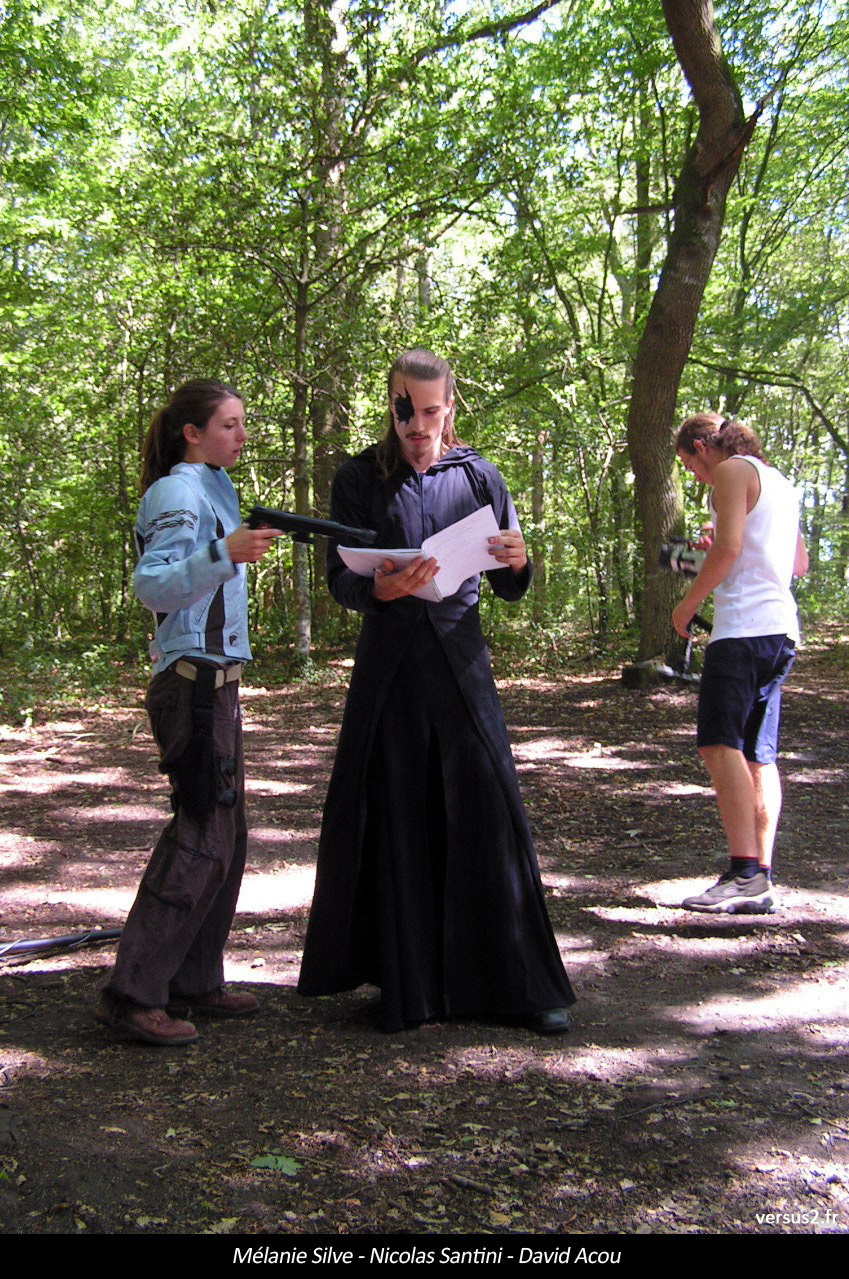
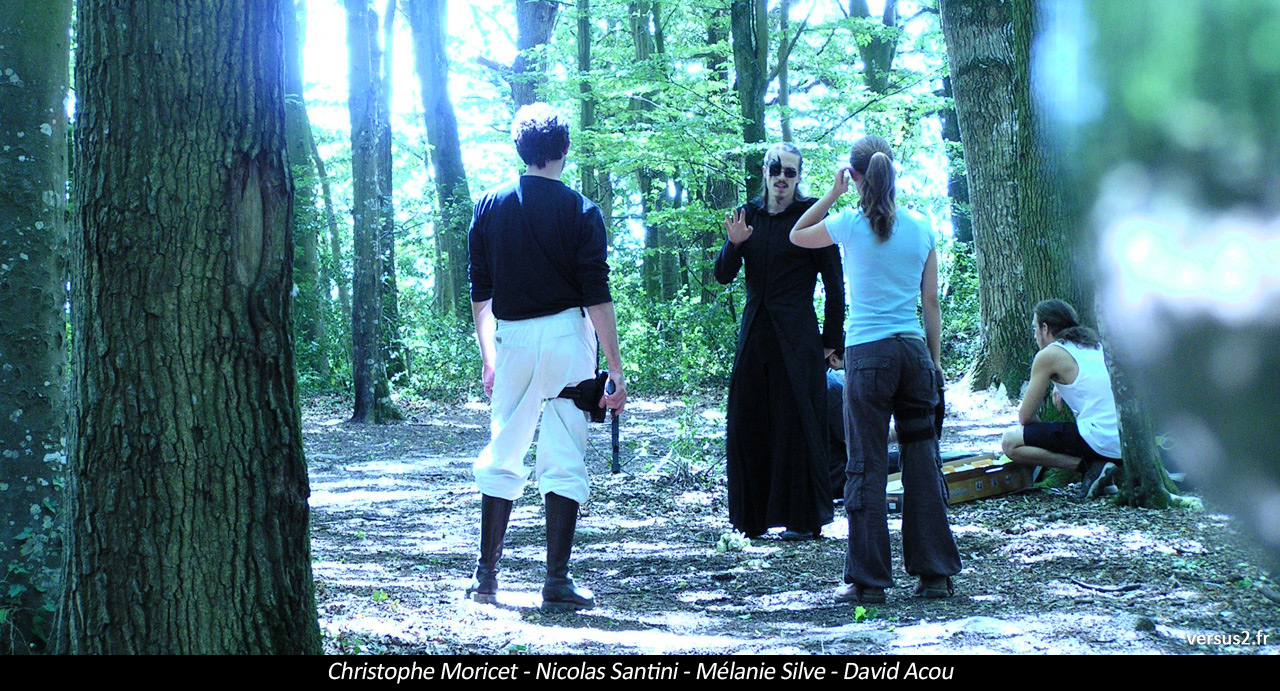
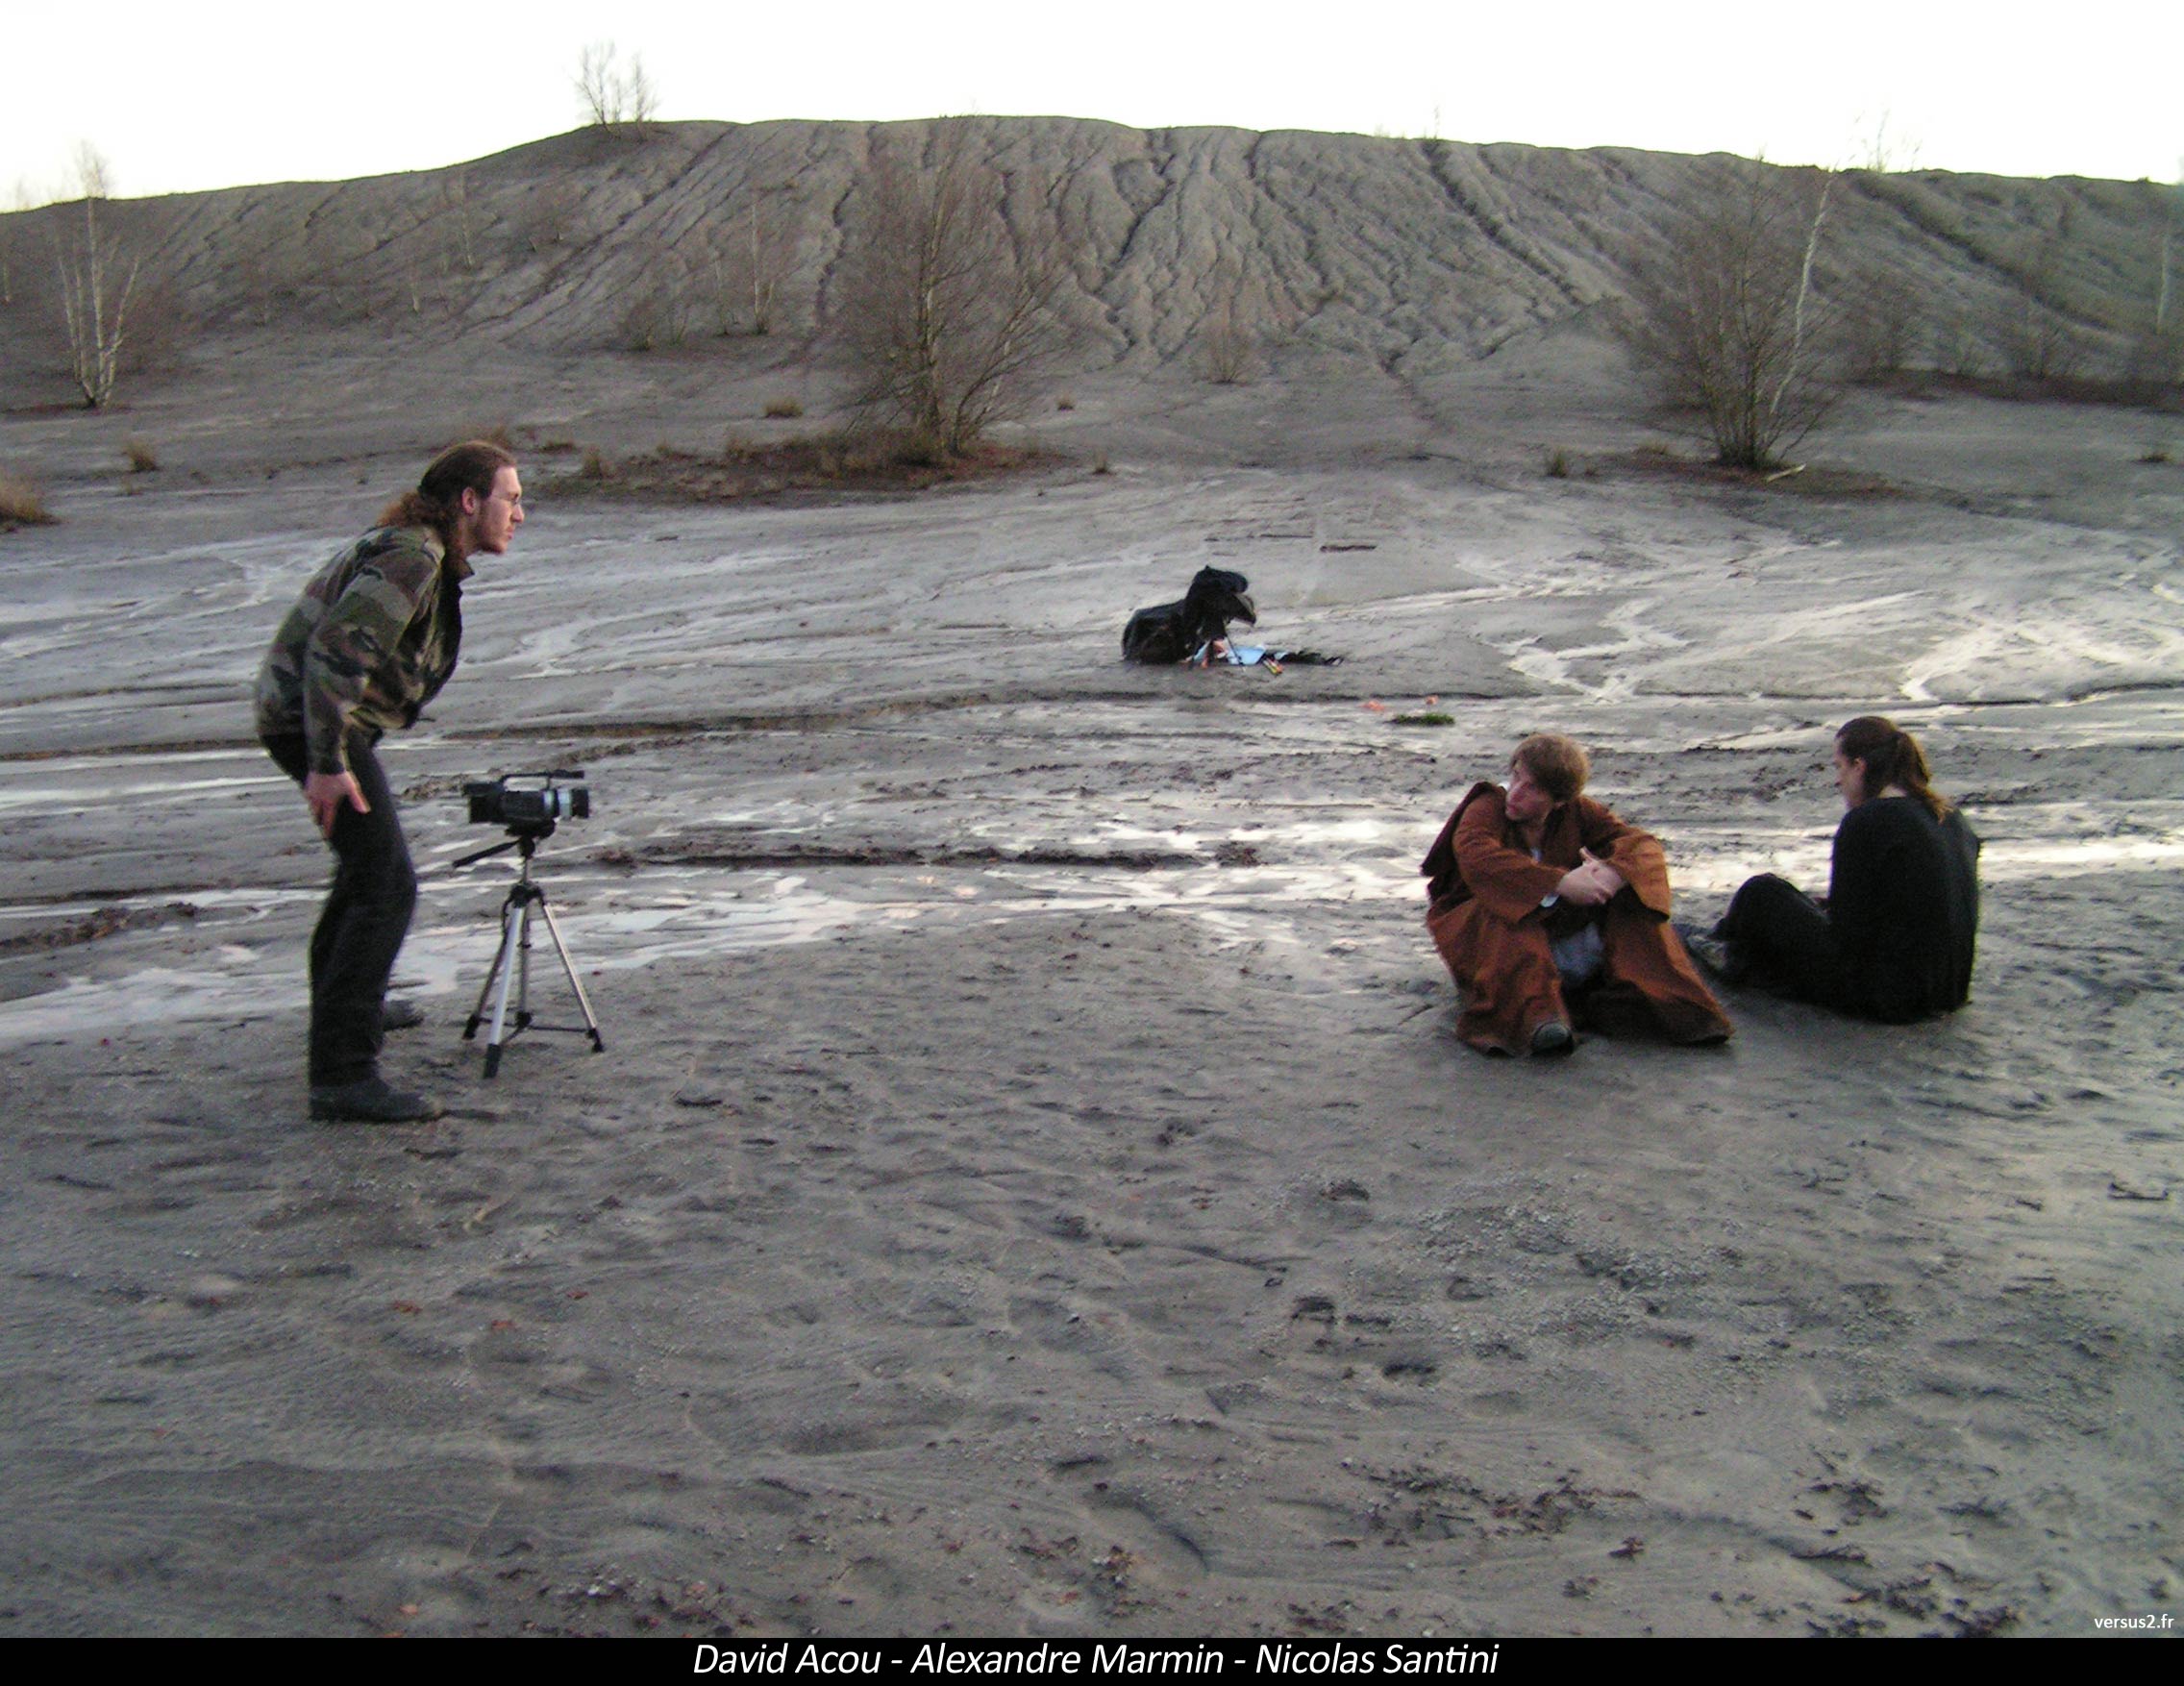
The film was shot in SD with a Canon XM2 camera. Some shots are full 3D, some backgrounds were replaced but we mostly shot it in natural environments, it’s not another green screen film. Creating VFX on SD shots was quite challenging but I was lucky enough to get all the desired data to complete all the matchmove and motion captured shots. We shot the movie in Nantes region, France.


Matchmove
77 shots needed to be matchmoved, most of them used tracking points placed manually in the image, sometimes helped by trackers placed in the shot.
Only 2 shots were impossible to matchmove because of noobie errors: high motion blurred shots, actors covering all the frame…
To fix this, the actor was rotoscoped (thanks to Ben McEwan for his help on these 2 shots) and then the background was replaced by a digital one. While we were shooting I had some free time, I could shot some background elements I used in post to create a 270° background by stitching different videos together.
I manually animated a camera that tried to match the motion of the camera on set, then I filled the shot with 3D debris, CG grass and clone troopers.
As these shots were full of action with tons of lasers, it worked pretty well.
Motion capture – Animation
The BIG challenge of the film ! When we started to work on the 1st teaser of the movie, back in 2007, there was no motion capture in my mind. I thought I would have to animate all the clone troopers manually (Yes).
That’s what I did for the teaser. Nicolas (the director) and I played the troopers with 2 cameras shooting us from front and side view and I used these references to animate the troopers. It looked terrible.
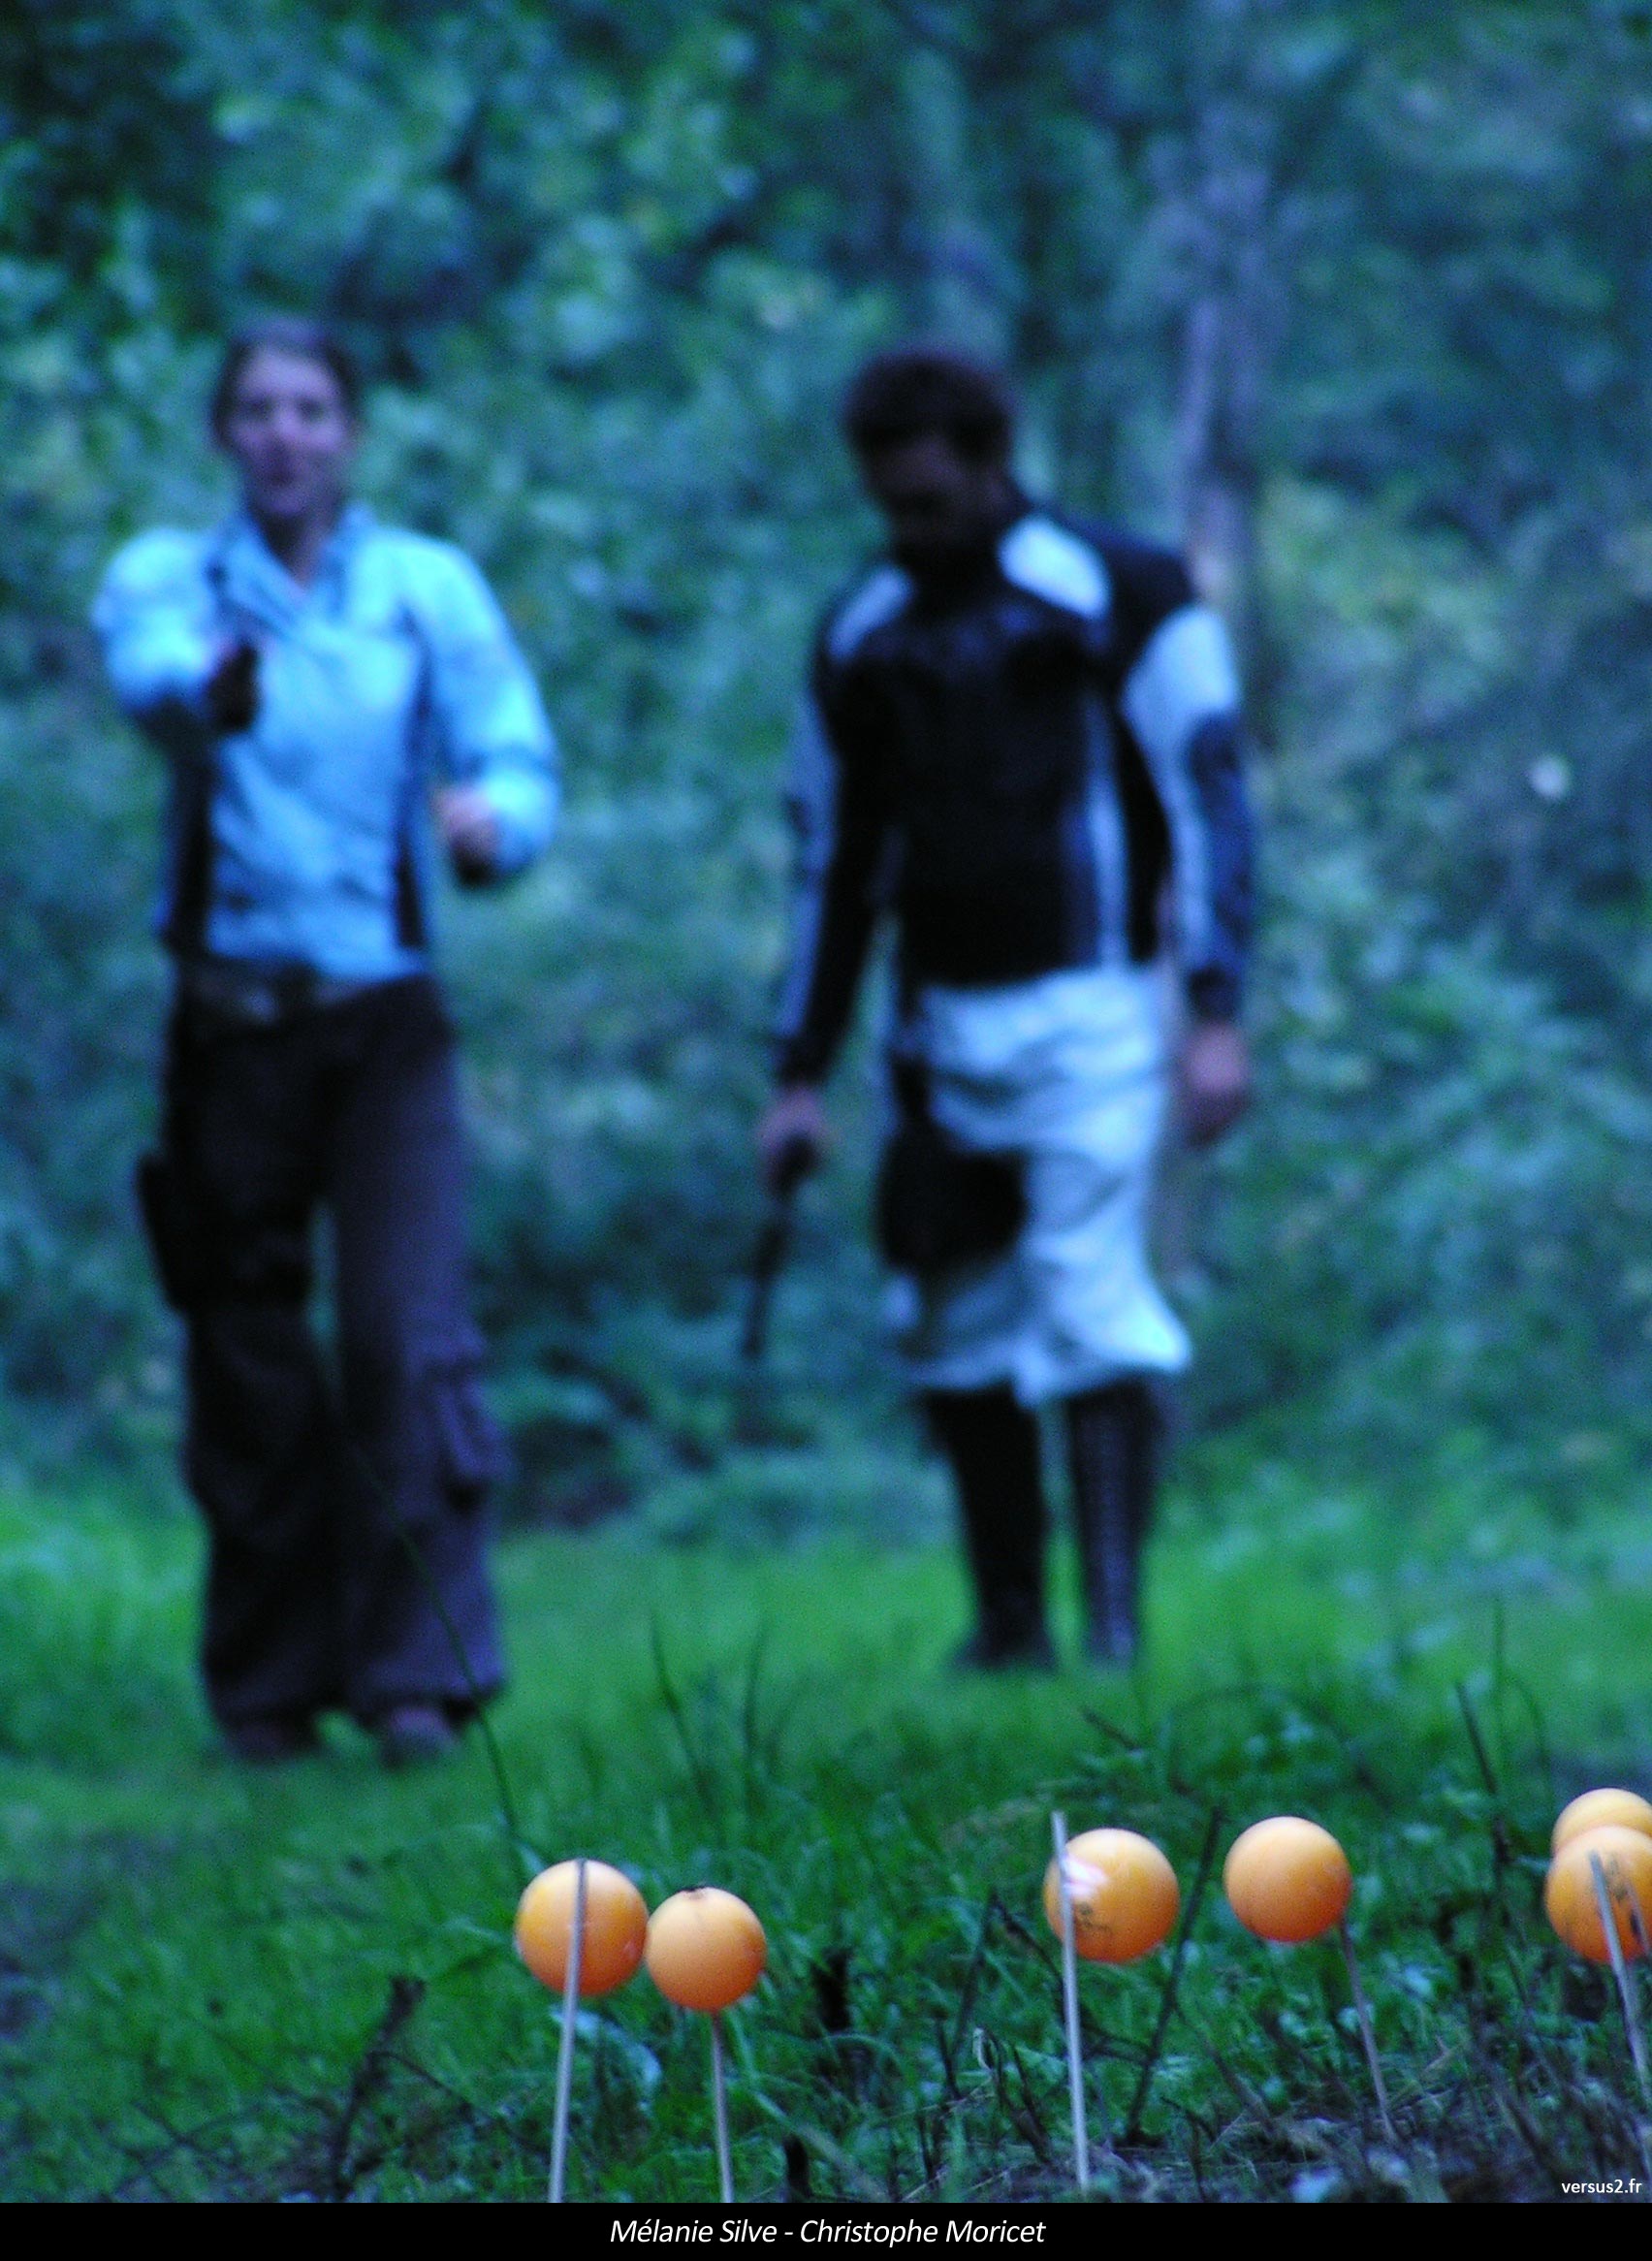
After digging for solutions I discovered the mocap module from Matchmover pro 4. Then started the long phase of testing: calibration fails, from ping pong balls pined on belts to what looks like a real motion capture suit, shooting issues, Rig adjustments, and one day, an animation test that finally worked!
We shot the animations with 3 mini DV JVC cameras + the Canon as 4th camera. Each session was about 1 hour of shooting, we placed the cameras on each corners of the room, each one was accompanied with a blue light, trackers on the mocap suit used reflective tape, that way we could clearly see bright blue dots in the video to make the tracking process easier.
Then I discovered Realviz Movimento that made the task even easier. The calibration process was made from pictures of me walking in the dark room holding a stick covered with reflective tape stripes.
Nicolas entered the play area and we could record each animation one by one.
The tracking process of each trackers was the longest and most tidious task in the workflow. To avoid being stuck in the tracking process because some trackers were sometimes hidden by body parts or body orientation, we placed trackers on the front and on the back of the mocap suit (I learned that from the firsts tests mistakes).
When that phase was done I exported the animated 3D point cloud to 3ds max as a maxscript and linked the clone trooper rig controllers to these points.
Shooting video based motion capture to be processed in Movimento was very time consuming. In the end of the post-production I used iPisoft Desktop Motion capture (Thanks to Danse Kabyle project) and created some animations with the help of 1 to 2 kinects to fill the Darius vs clones sequence with even more troopers. In approximately 1 hour sessions, I could record different animations in a small room and directly watch them in action in 3ds Max. A huge thank to iPisoft developers team for helping us to complete our fighting sequences quickly.
For specific animations like clones being killed and falling on the ground I couldn’t ask Nicolas to perform these stunts anymore (we needed him to finish the edit and release the film!) so I used Endorphin to simulate hits and dying troopers animations, it was a funny process.
Modeling
The clone troopers were modelled from images and still frame references from Attack of the Clones and Revenge of the Sith. The first models were poorly modelled, I used them for the 2 teasers then I decided to change them, to be closer to the original model from Lucas films.
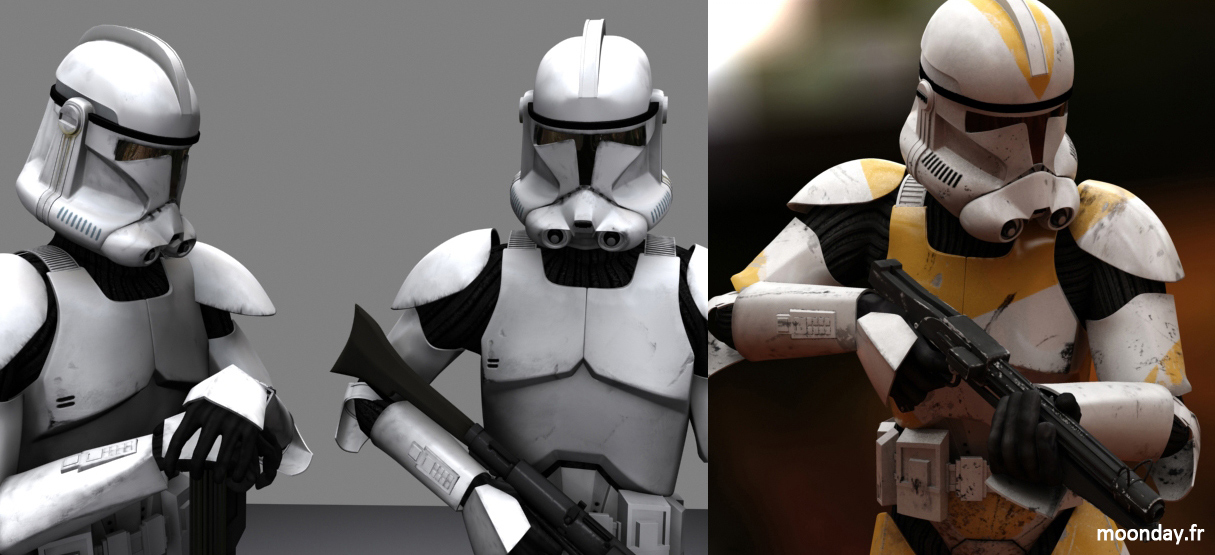
Left: “My eyes are bleeding” model – Right: Final model used in the film
Texturing
I used some pictures took in dirty places to create all the damaged look on the trooper armor, custom brushes were created from these pictures and used to paint on the 2D unwrapped models. Each clone armor part has a shader using a diffuse, glossy, reflection, normal bump, bump and sometimes a displacement map. There are 14 variations of the maps to avoid real clone effect in a same shot. Same process for the other 3D models.
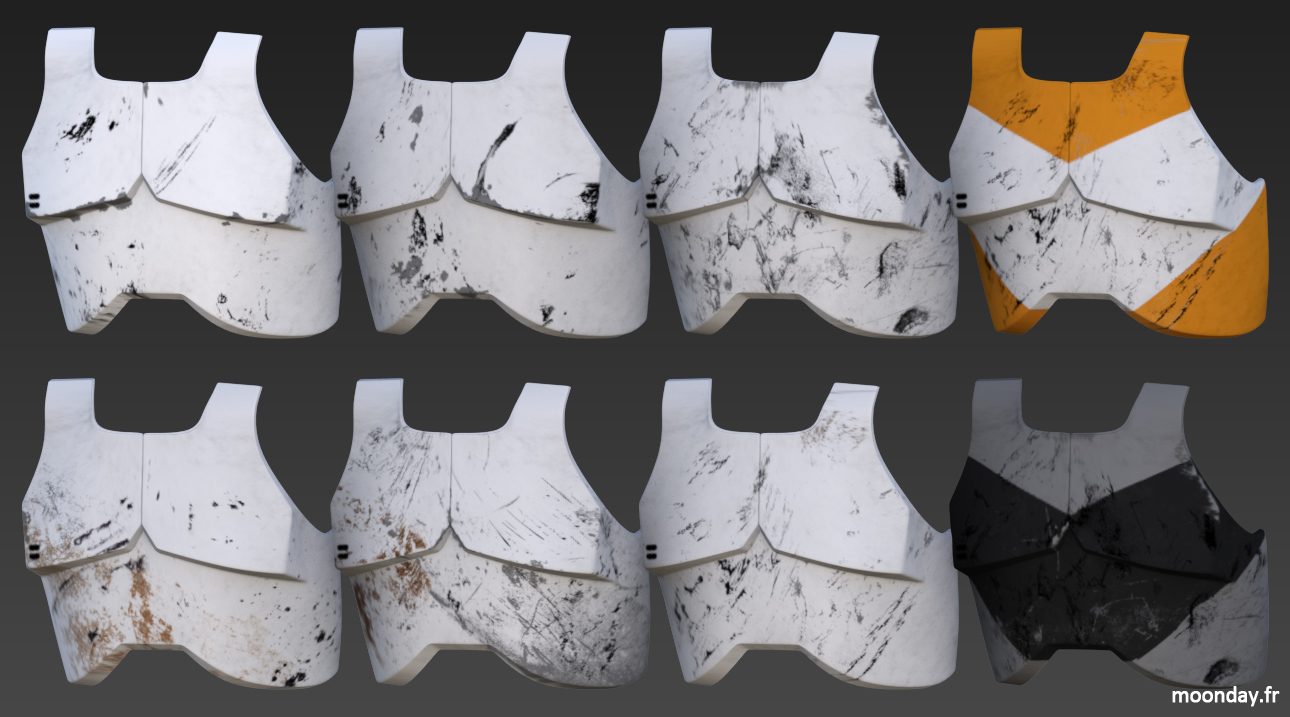
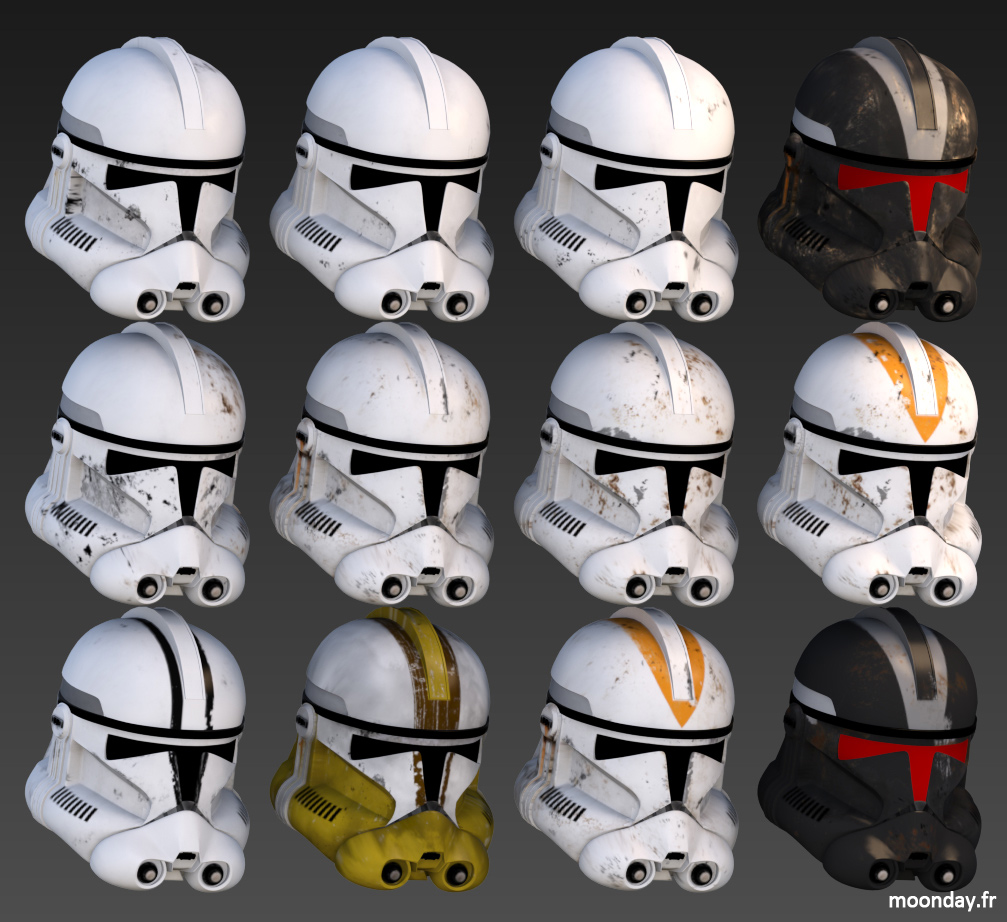
A few of the armor texture variations or the Batman dilemma ‘what am I going to wear today ?’
Rendering
At the start of the project I didn’t know a single thing about advanced render engines like Vray or Mental Ray, that explains why CG elements in the teasers looks so… old. It was clear that the models needed to be as photo realistic as possible to match the footage. That being lodged firmly in my mind I started to learn how to use Mental Ray, long story short, all the CG elements in the movie are rendered with Mental Ray and use mental ray shaders, driven by multiple maps. At the end of the post-production I even used Iray on some shots.
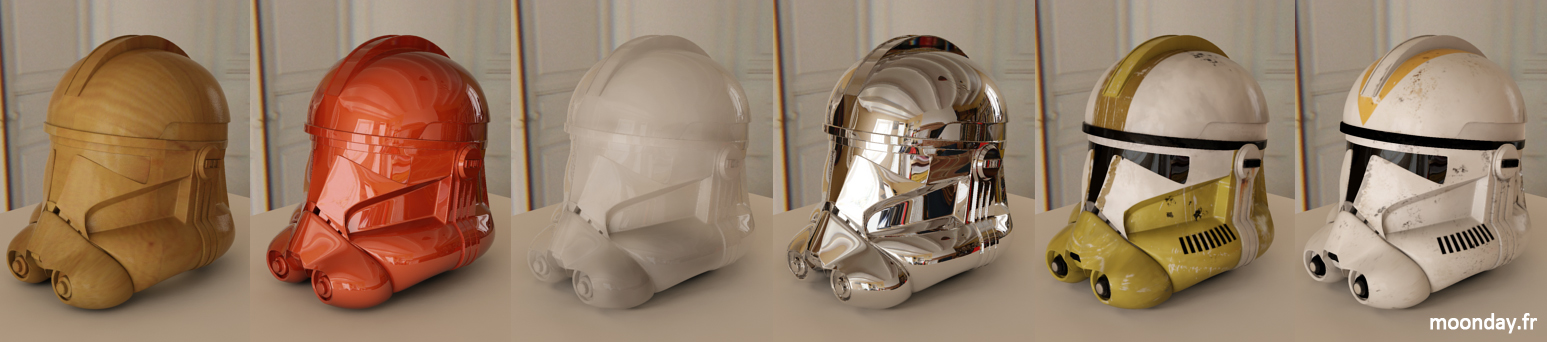
Shader tests – The world was not ready for wooden troopers
Compositing
Nothing really complicated on that part. Only the sequence in the rain asked a little more work. We shot this sequence on cloudy days to avoid highlights and sharp shadows in the frame. We put some water on the actors to make them look wet, to help the blend with digital rain in post. Despite the fact we used a glidecam for shooting, some shots required image stabilization in post.
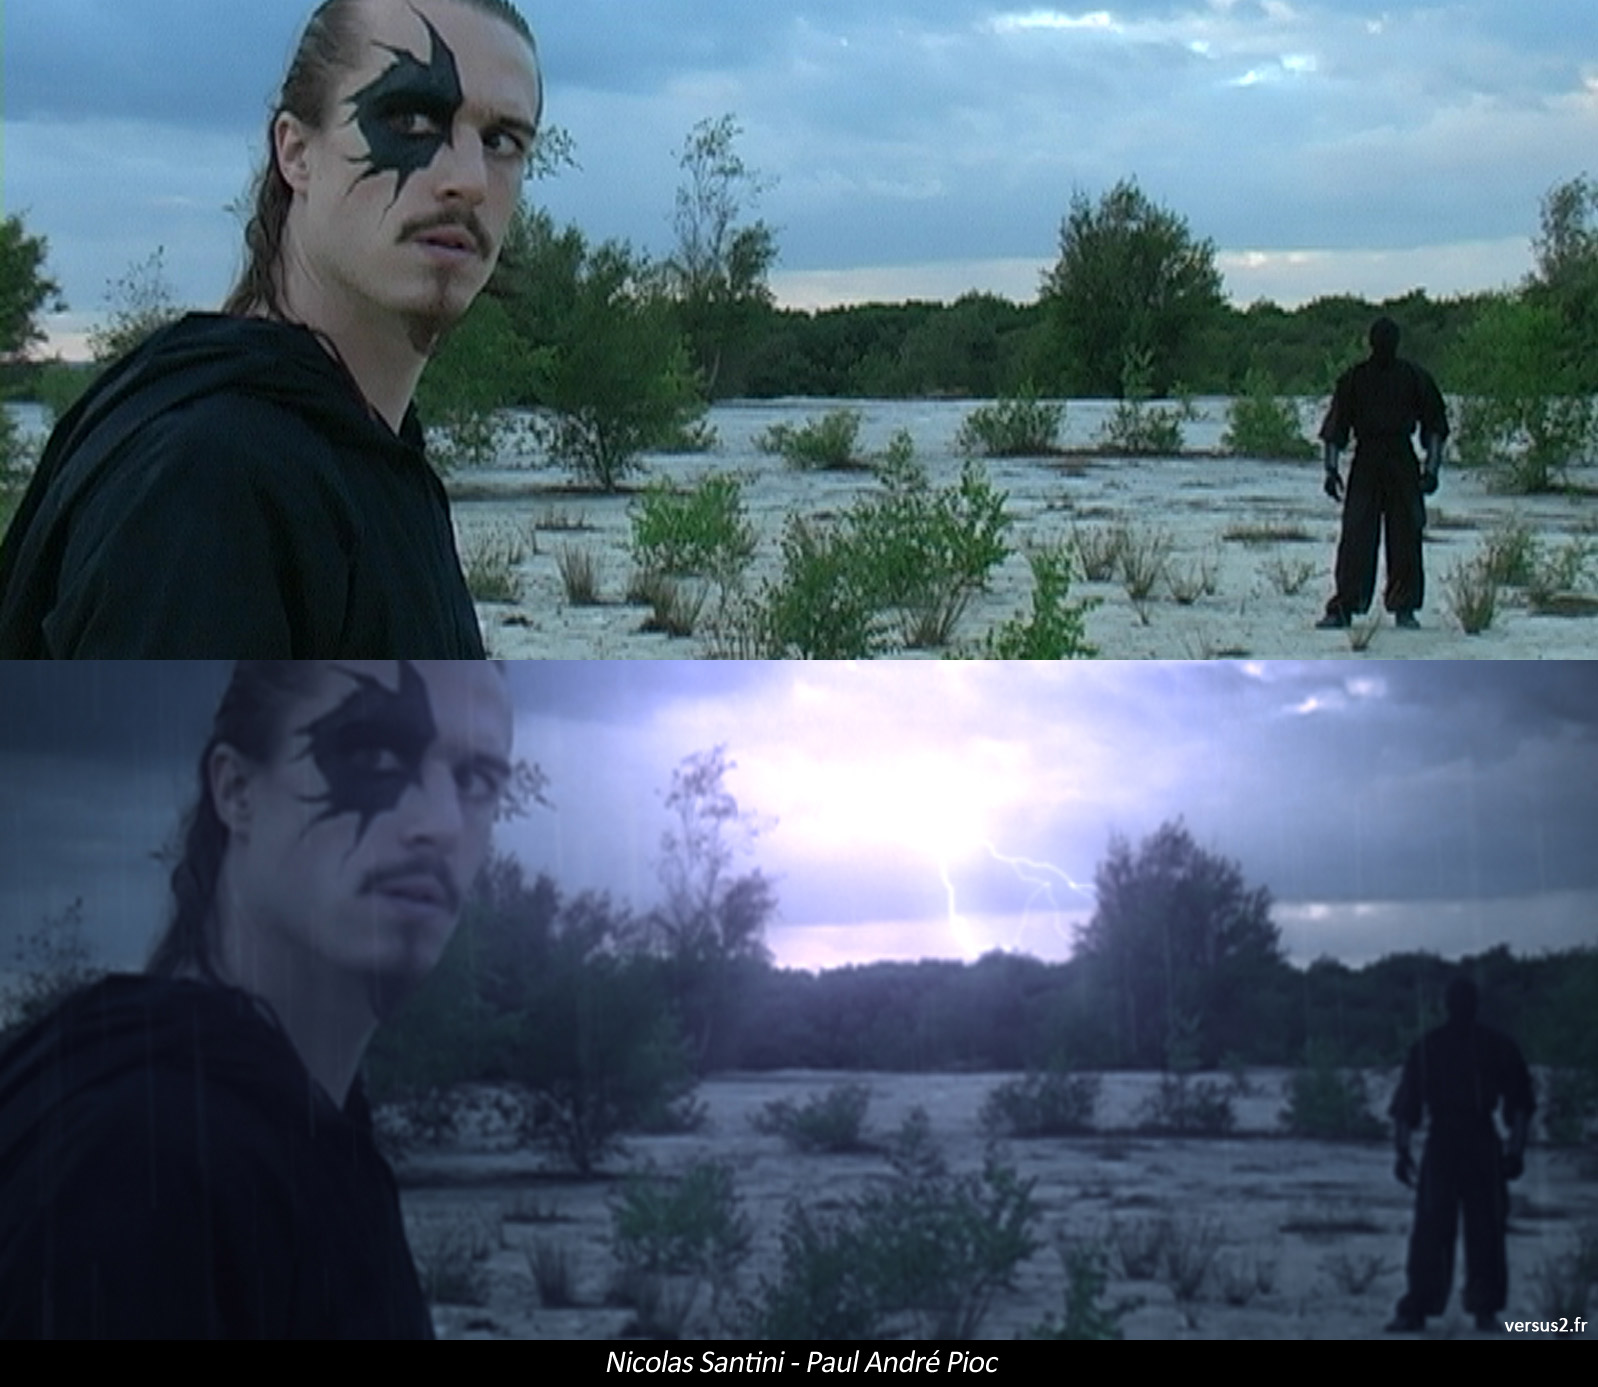
Springbreak – Star Wars Edition
The easiest shots to composite were the ones where Darius is fighting the troopers, it’s so chaotic I could fill the frames with a lot of digital elements such as dust, ground explosions, dying troopers etc. There were so many debris and CG elements, I sometimes didn’t have to remove trackers from the set (For that, I loved the SD resolution).
In the sequence troopers are looking for Naya, there was an “impossible shot” to create, the camera had to make a handled pan movement, watching troopers looking for Naya. So many bush trees, clones wandering everywhere…
I used the solution of shooting a panoramic version of the shot, then in post I could easily mask out vegetation to hide troopers behind and add out of focus bushes in front of the camera in 3D space. All I needed to add at the end was a CG camera that moves from left to right with a little handshake animation.
As said earlier, some shots were fully or almost fully digital, in the shot shown below, I used references shot on set to create a dolly camera movement while clones are being shot by deflecting lasers. The background is a video projected on a low poly model, then I added the CG elements: grass, debris, troopers, lasers.
About the last big trooper’s shot, that one was obviously full CG, I used pictures of my cloudy sky library, the first ground layer is a camera mapped version of a panoramic picture made on set and the second ground layer is made of 3D scanned geometry using agisoft photoscan (ie video). Hero troopers (when the camera pass really close) are high poly models using walk cycle animations. AT-RT models use the same method. Other troopers are low poly models with point cached animations. They are scattered in little groups on the ground geometry using particle flow to follow the surface. All that scene, except the camera mapped passes, was rendered with iRay using an HDR image captured on set. It took 1 to 3 minutes per frame to render with motion blur on, that was pretty fast for a huge scene like this.
Notes
HDR environment capture during the shooting wasn’t mentioned in this article but generated files were used in the lighting and rendering process of the various CG elements visible in the film.
I’d like to mention other artists from the shadow that helped me in the creation of the VFX for this film.
Guillaume Depestèle created some magic with his maxscripts that really sped up the workflow.
Ben McEwan and Riccardo Elliott II worked on additional roto at the end of the post production when I started to have nightmares full of clone troopers waiting for me on set for shooting even more Versus shots.
Looking back on the work done on the film, the VFX could have been done more quickly. The biggest problem I have is I spend too much time working on details that are barely noticeable on screen, some of them are only visible if you look at the movie frame by frame, like lights coming out of blasters lighting troopers in blue for a few frames, bug passes made with tiny particles to add more realism in some shots, 3D elements fully textured, etc.
I’m a constantly striving to be better.
In the end, working on that film for a few years was like going everyday to a CG school, I learned so much.
I am thankful to Nicolas Santini for trusting in my skills.
Links:
 Film www.versus2.fr
 VFX and 3D sorcery www.moonday.fr

 eMails :
 versus2@live.fr
 1k0@moonday.fr

 Written by Nicolas Brunet - March 6th 2014
 Proof reading : Nick Tregenza
Links:
 Film www.versus2.fr
 VFX and 3D sorcery www.moonday.fr

 eMails :
 versus2@live.fr
 1k0@moonday.fr

 Written by Nicolas Brunet - March 6th 2014
 Proof reading : Nick Tregenza