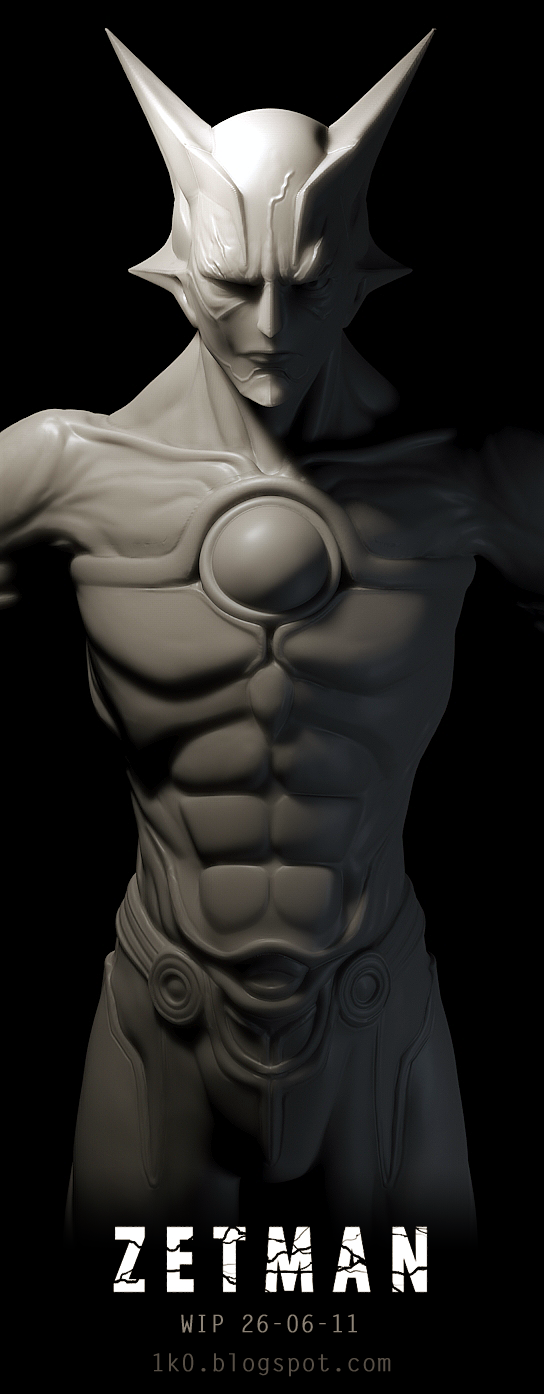
Zbrush to 3ds max: one step forward, two steps back.
I take a lot of time trying to get the best results from a new workflow, have to avoid issues, for example the project all step in Zbrush:
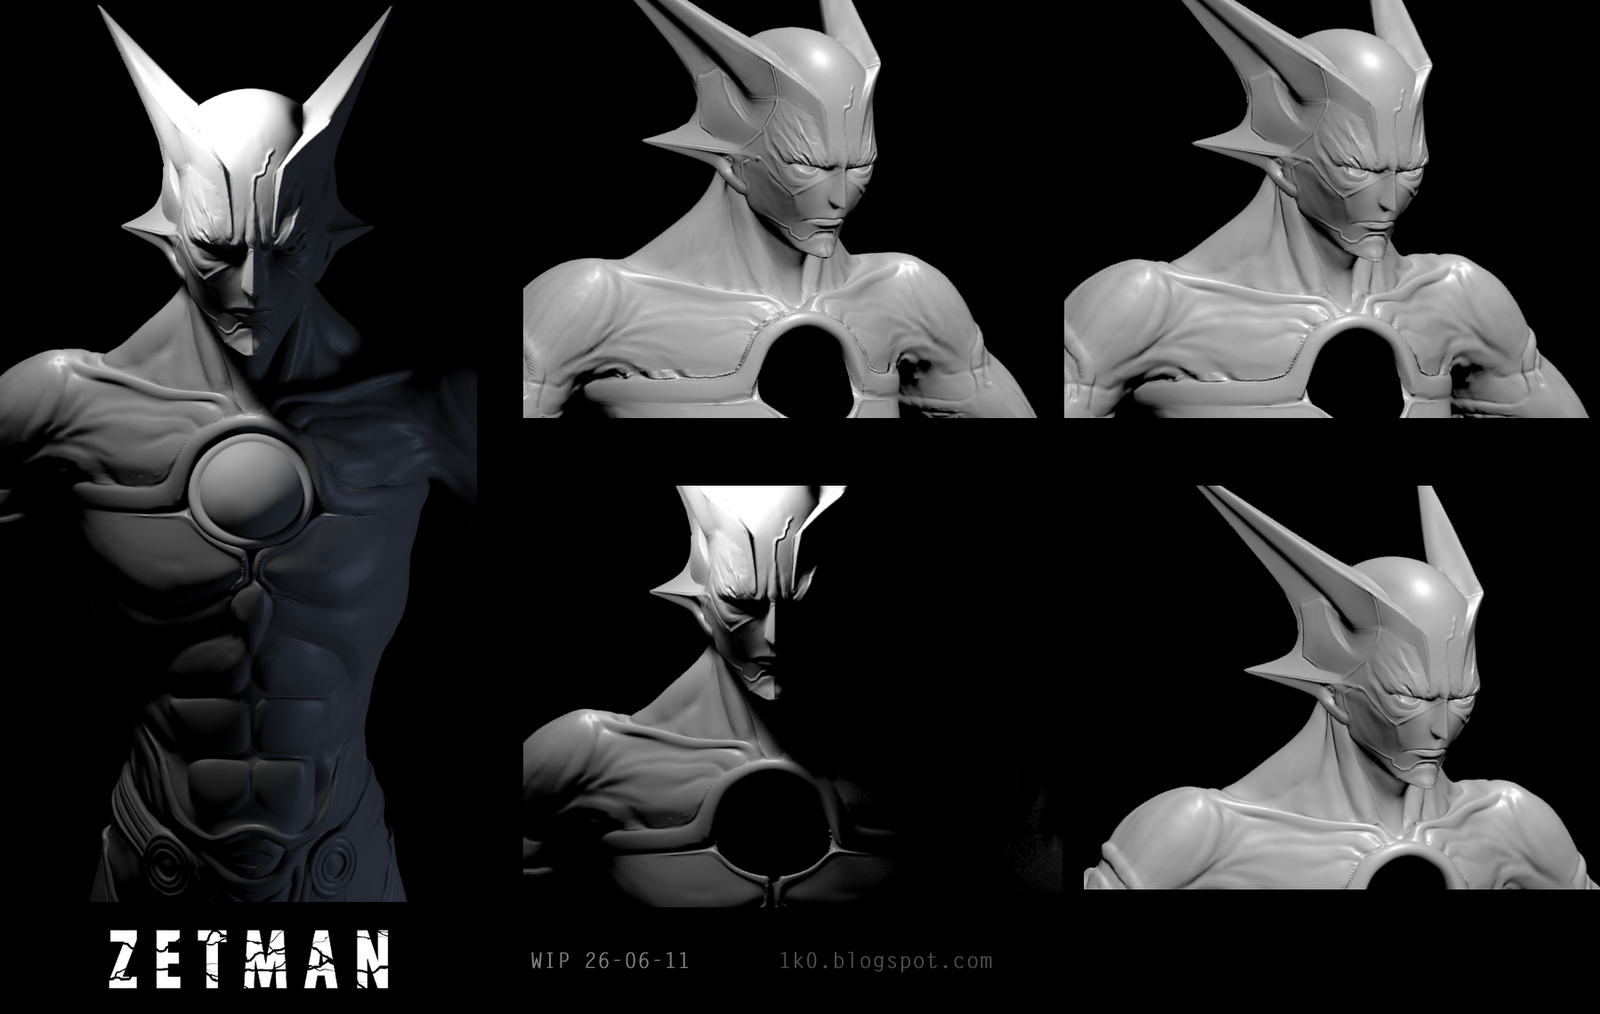
In this Zetman model, parts of the body like horns geometry is close to each other, it results in some spiky artefacts… We all know that issue, but I tried to find ways to correct those messy parts of the re-projected mesh.
First method: flip your model faces in Zbrush, then you can see from the inside where the spike artefacts come from, smooth them and and then flip again the faces, it works pretty well but… It destroys your UV coordinates, another fails for me as I made a complex unwrapping in 3ds Max before this step.
Second method: Hide your geometry with the lasso tool to be able to see the inside and smooth spike artefacts, it takes more time than the flip faces method but my UV are safe.
I now have another problem, the way my model UVs are made (2 parts) I see a seam in the displacement and bump map, I shouldn’t really care as this part of the model will be black/dark skinned, but I don’t like that, I’ll try to find a way to fix that.
Talking about problems, normal maps in Mental Ray SSS produce weird shadowed square artefacts, I already had this problem and still don’t know how to fix it.
I’m back on the idea of using 1 material and no sub-object multi material because the magic method I used to get SSS work with multi material didn’t like eating too many high quality maps (4096) and told 3ds Max to go the f**k to sleep, I’ll explain the method anyway in a next post.
You’ can see my pains in the following preview images:
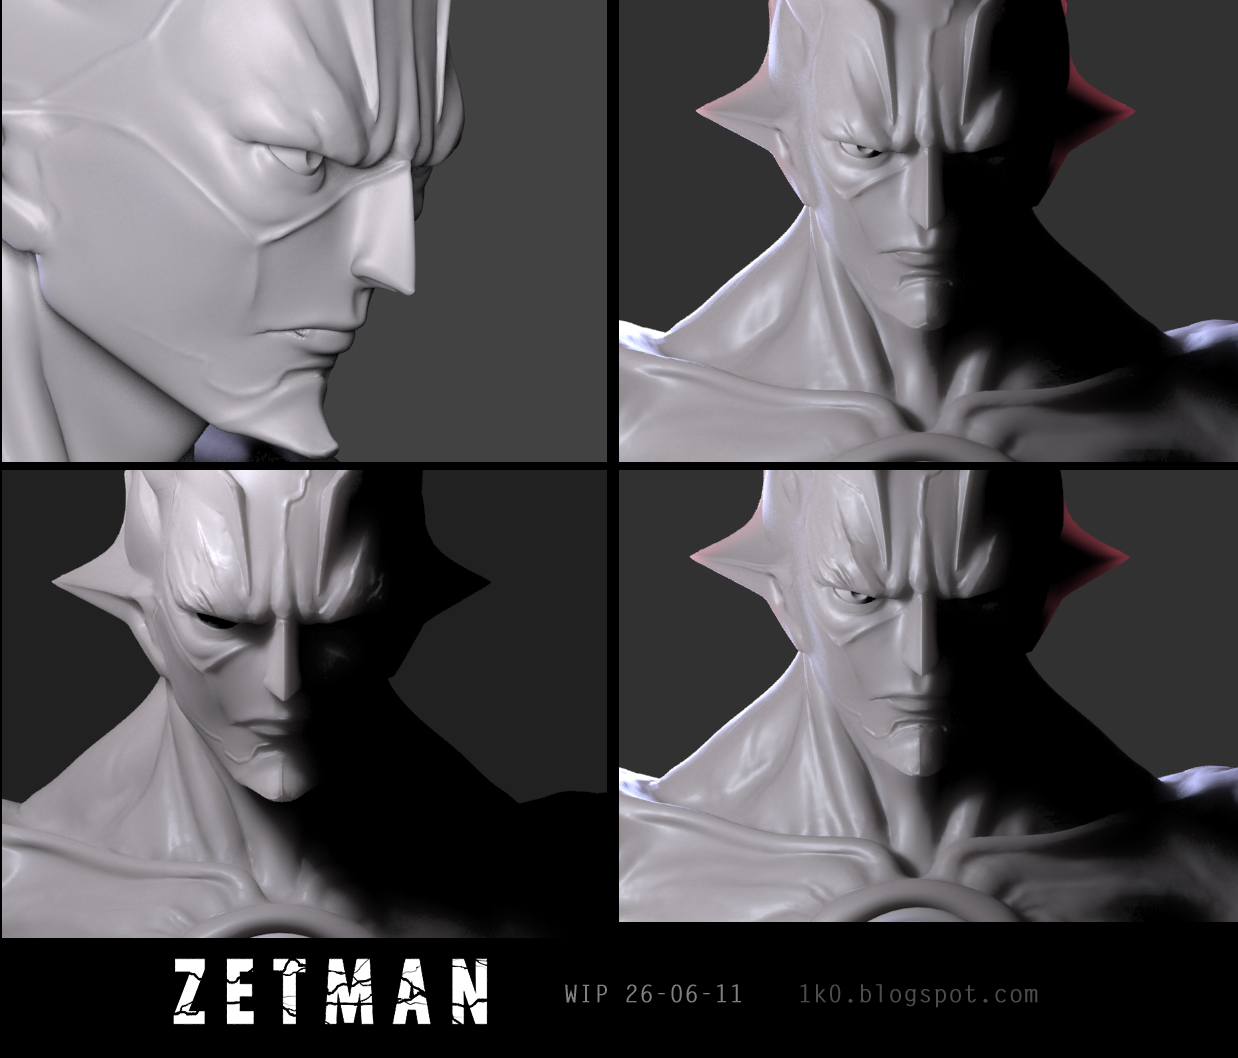
SSS
Arch&Design